


This week I am looking at the Christmas Bulb Builder Punch and it is an awesome punch to have in your collection. Before you say, it’s got limited use as it’s only for Christmas I have to tell you that this is not the case! This punch coordinates with TWO stamp sets: the Making Christmas Bright stamp set AND the Making Every Day Bright stamp set!! The Making Every Day Bright is a wonderful all seasons set. Join me tonight at 8pm AEST to see a non Christmas card using the Making Every Day Bright stamp set and the Christmas Bulb Builder Punch.

This blog post, I have dedicated to a christmas card that I’m quite proud of, it primarily uses the Making Every Day Bright stamp set and I’m so thrilled with how it has turned out:
All supplies used in this card are shown at the end of this post in the thumbnails. These are linked to my Stampin’ Up! online store.
To create this card:
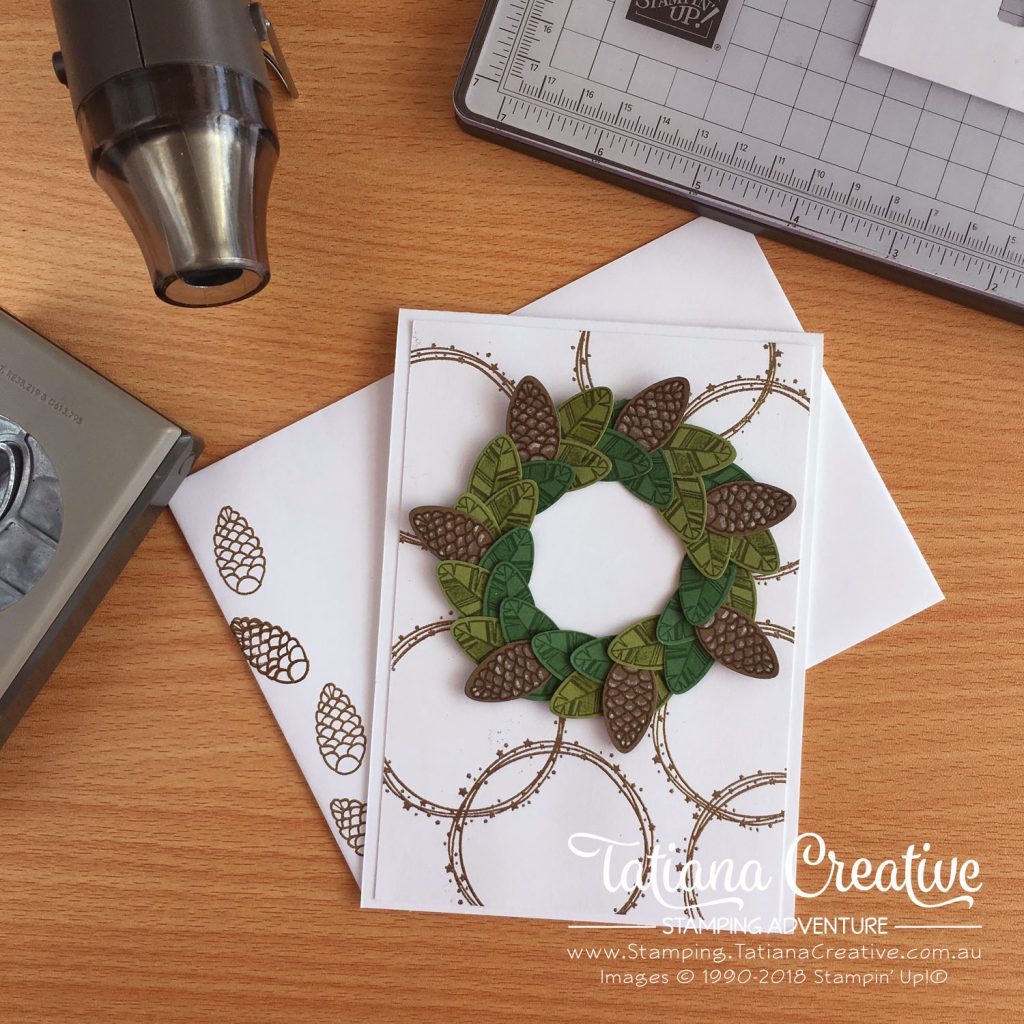
Card Base: Whisper White Thick
Card Front: Whisper White 100mm x 143.5mm
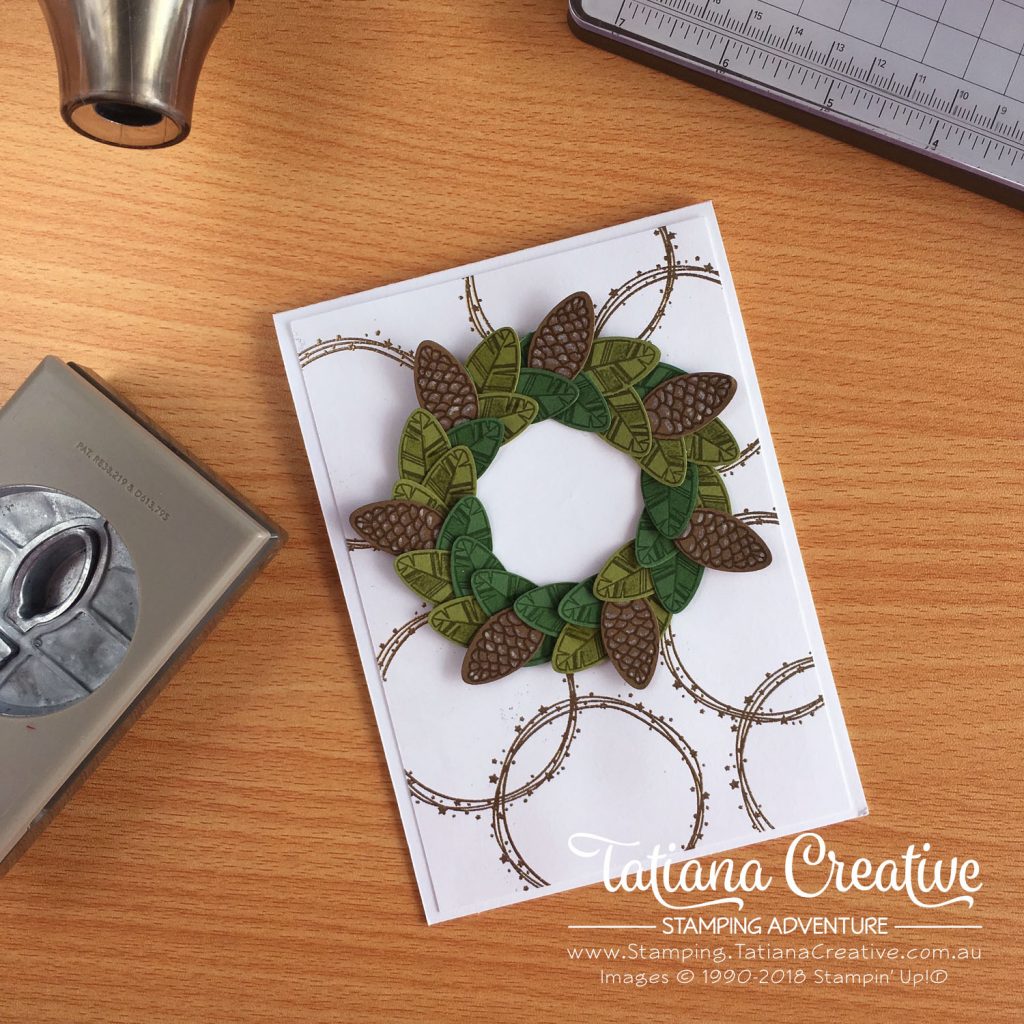
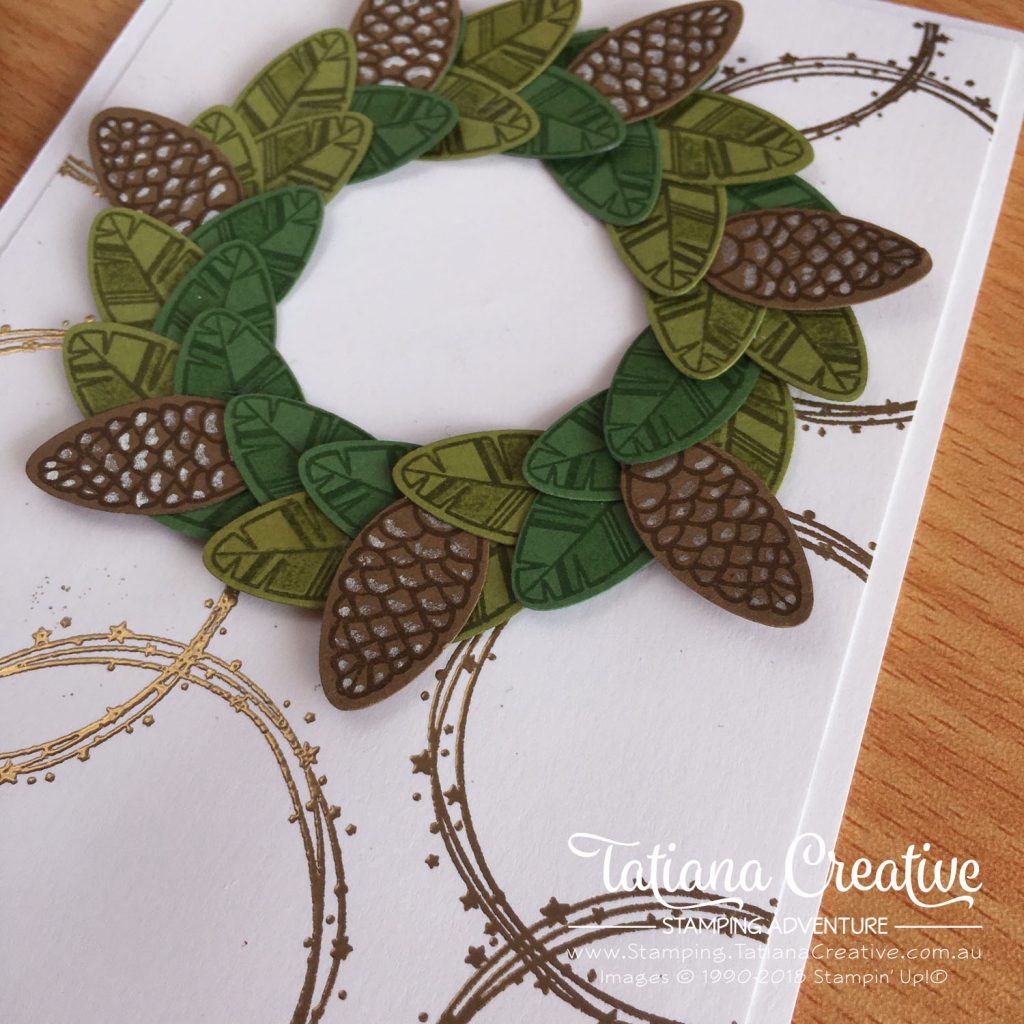
- Draw a circle on the card front in pencil, positioning it top centre of the card front.
- Heat emboss in Gold the circle stars from the Making Christmas Bright stamp set TIP: don’t forget to use your Embossing Buddy.
- Prepare (stamp and punch) seven pinecones in Soft Suede cardstock and ink using the Making Every Day Bright stamp set. Use a dry Aqua Painter and some Frost White Shimmer Paint and dap onto the tips of the pinecones.
- Prepare (stamp and punch) 15 Old Olive cardstock and ink feathers and 13 Garden Green cardstock and ink feathers using the Making Every Day Bright stamp set. TIP: stamp off the feather fill stamp before stamping to create greater colour variation.
- NOTE on steps 3 and 4: I found it easiest to first punch out the pieces and then use the Stamparatus and the negative of the punch out to stamp onto the pieces. This means you don’t have to try to line up the punch accurately each time. It also means that you can punch out the pieces with better economy of cardstock.
- To assemble:
- Adhere the card front to the card base using Liquid Multipurpose Glue.
- Attach the feathers (which are being used as leaves) to the card front using Liquid Multipurpose Glue and following the pencil circle you drew in step 1.
- Add in the pine cones.
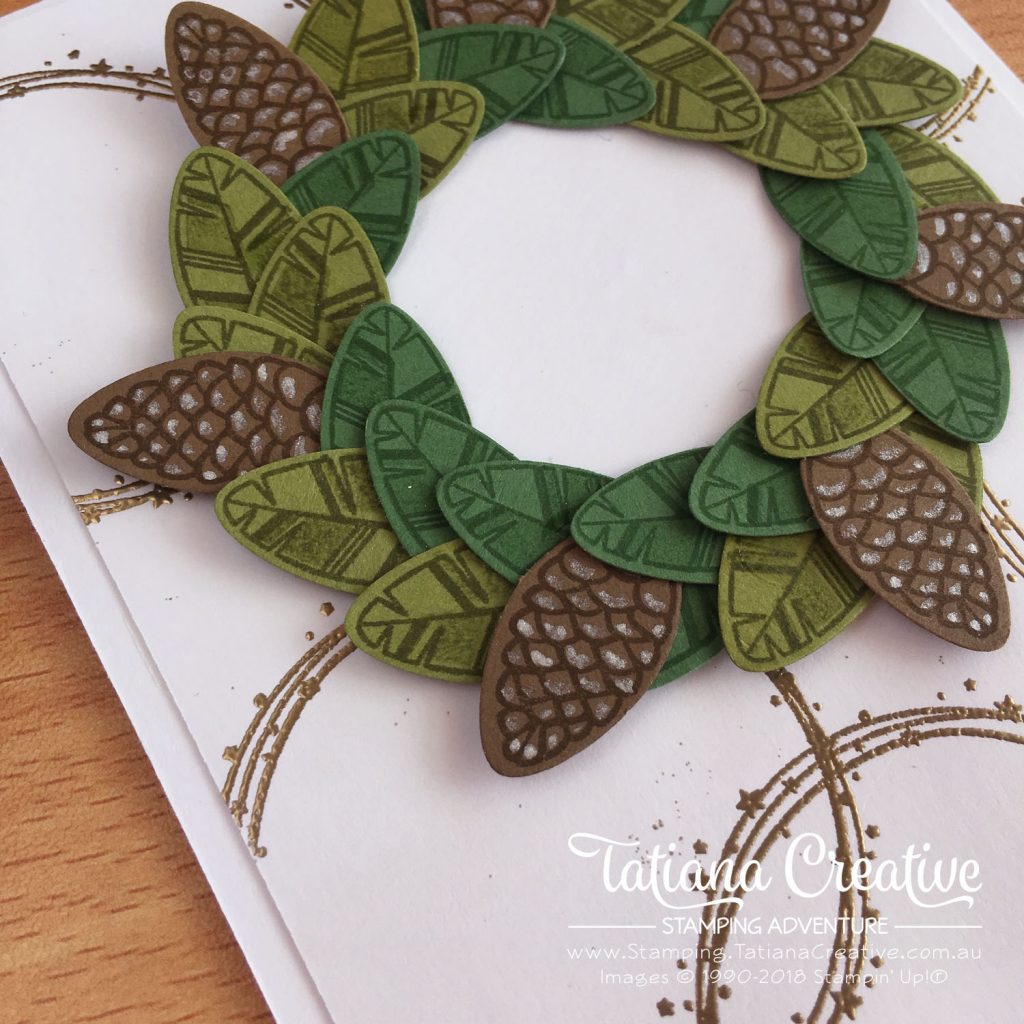
I have trouble picking my favourite part of this card. I love the pinecones, and I love how I think I could get away with the feathers being leaves, and I love the Gold Embossed circles!! What do you like best?
As I often do, I stamped a coordinating envelope:
I’m taking a pause on my Facebook Lives for the first two weeks in November 2023. Make sure you like my Facebook Page so that you can get notifications on when I will be going live. The lives will resume and will become Mystery Stamping! Looking forward to you joining me.
Thank you for visiting my blog! I hope that I’ve inspired you to be creative.
Bye for now!
Tatiana
- Join Stampin’ Up!® to start getting your products at 20% discount: CLICK HERE
- Request a Catalogue to see what products you can purchase: CLICK HERE
- Subscribe to my newsletter to keep up to date with the latest news: CLICK HERE
- Follow me on Facebook for regular updates and inspiration: CLICK HERE
- Go SHOPPING for clearance items and specials: CLICK HERE
If you live in Australia you can purchase Stampin’ Up!® products from my online store.
Current Host Code (August 2024): NN39AWU4
(Use the hostess code when ordering less than $250. All orders over get a handmade card from me. Orders over $50 will receive a FREE gift, and collect stickers part of my Customer Loyalty Program! Orders over $90 will also get a FREE tutorial bundle the following month!!). Click here to shop now using the current Host Code.
Supplies:
You can purchase the of the supplies I used in this project. Please click on the image below to purchase. Thank you for your support.


