


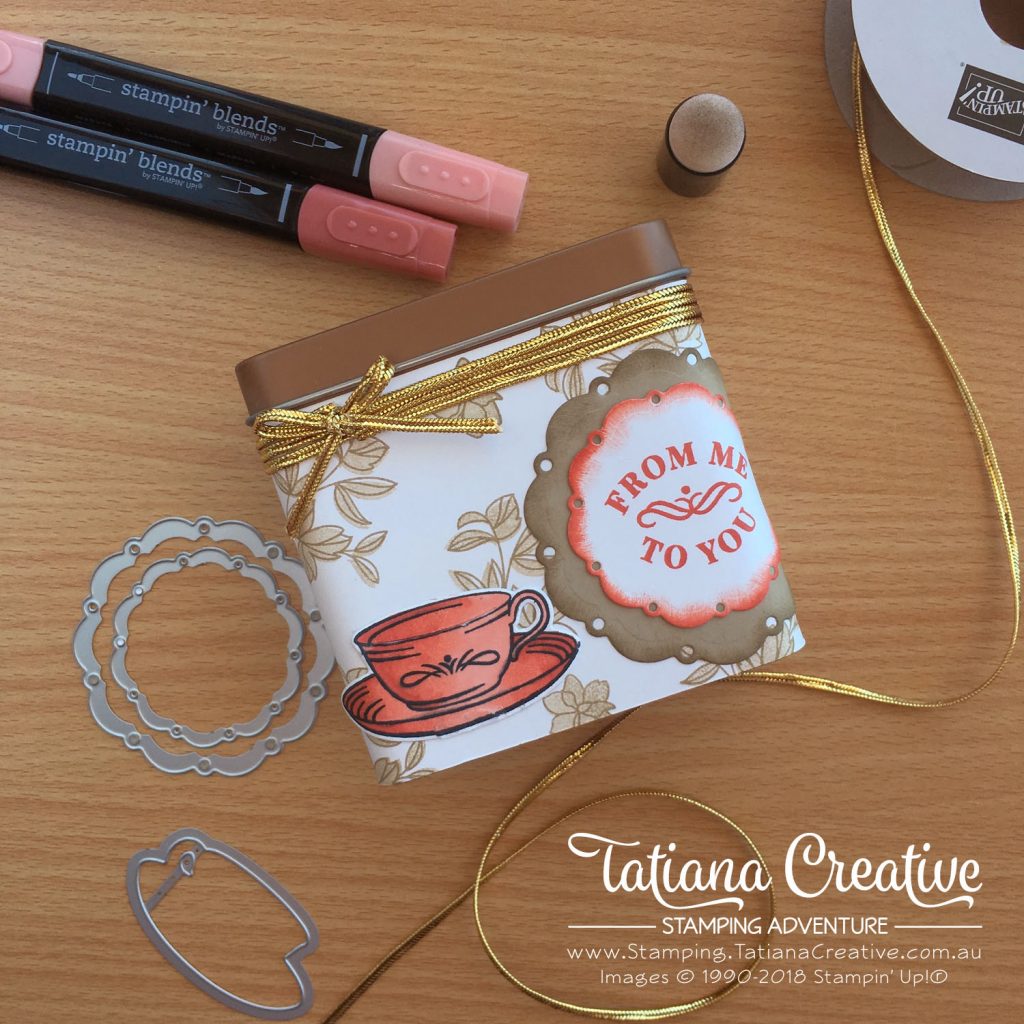
It was my mother in law’s birthday last week. One of the things that we have in common is that we both enjoy drinking tea. This year she organised herself a Mad Hatter’s Tea Party. I thought a tin of tea would be the perfect gift for such an occasion.
All supplies used in this project are shown at the end of this post in the thumbnails. These are linked to my Stampin’ Up! online store.
To create this project:
- Cut a strip of the 12″ X 12″ Whisper White cardstock 79mm wide (80mm was just a bit too big to get the lid on). Decorate this strip with the Time For Tea stamp set. (TIP: stamp the outline image first and then the solid shape it’s much easier to line them up. I stamped off the solid shape).
- To attach the strip to the tin, place some Tear & Tape Adhesive onto the edge of the cardstock, and also onto the tin. On the tin I had one strip of the narrow sides in the middle and then two strips near the corner curves on the larger sides. Attach the strip by peeling back the Tear & Tape Adhesive backing one section at a time and smoothing the cardstock around.
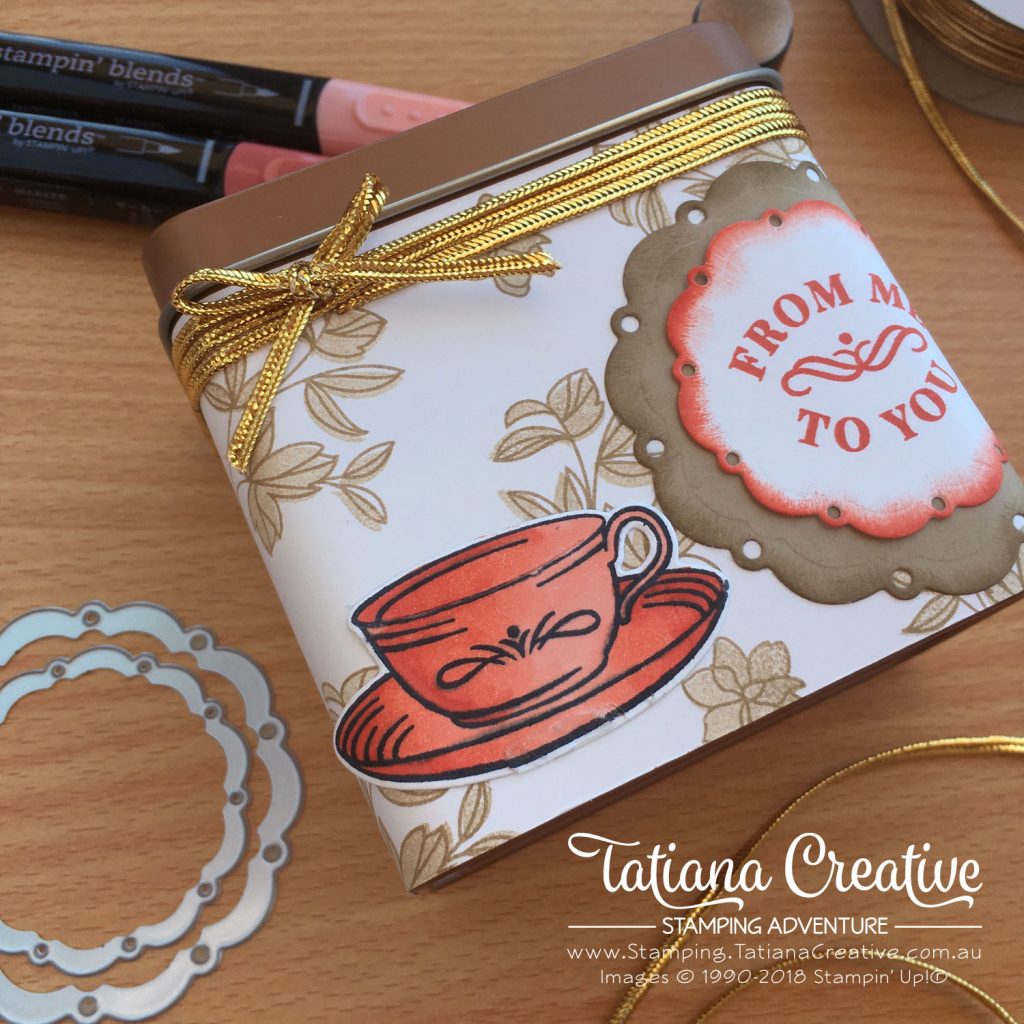
- Stamp the tea cup and saucer stamp from the Time For Tea stamp set, colour using Stampin’ Blends. I used Calypso Coral.
- Die cut the large circle label from Spot of Tea Framelits in Crumb Cake and the small one from Whisper White. On the small stamp in Calypso Coral the “From Me To You” sentiment (Time For Tea stamp set). Use a Sponge Dauber around the edge of the white circle label (Calypso Coral) and do the same for the large using Crumb Cake. This give the die cuts more definition around the edge. Glue the small circle inside the large using Snail Adhesive – making sure you put it right onto the edges.
- Run a piece of Tear & Tape adhesive right around the tip near the lid. Remove the backing and adhere three rows of Gold Cord. (TIP: start from the front where you would like the bow to go so that the ends will be covered by the bow). Tie a bow and attach to the front using a Glue Dot.
- Adhere the tea cup and sentiment label to the tin with Snail Adhesive. Put the snail right on the edges so that you can curve the elements around the corners of the tin.
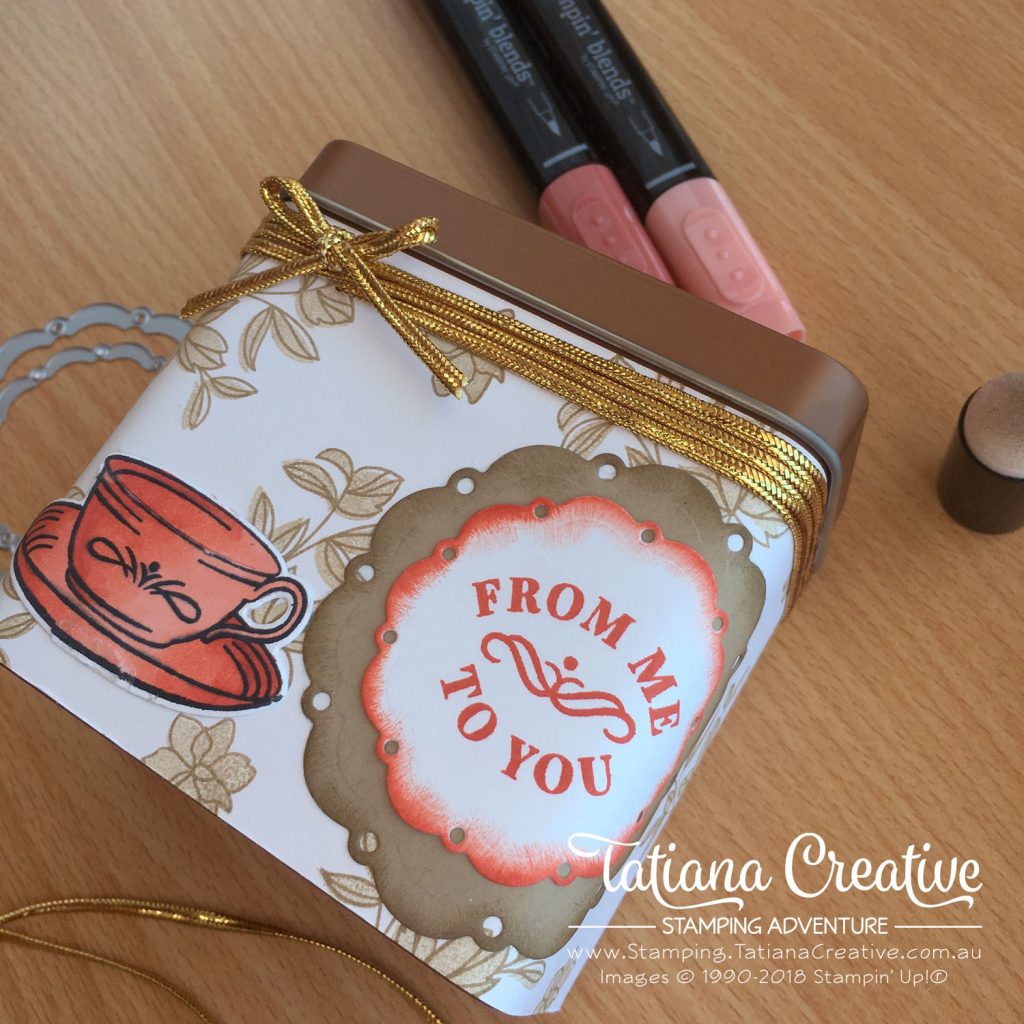
I love having the sentiment label wrapping around the tin, just really is something different! I have put a 50g bag of loose leaf tea inside for my mother in law, which in my opinion really finishes off the tin.
Thank you for visiting my blog! I hope that I’ve inspired you to be creative.
Bye for now!
Tatiana
- Join Stampin’ Up!® to start getting your products at 20% discount: CLICK HERE
- Request a Catalogue to see what products you can purchase: CLICK HERE
- Subscribe to my newsletter to keep up to date with the latest news: CLICK HERE
- Follow me on Facebook for regular updates and inspiration: CLICK HERE
- Go SHOPPING for clearance items and specials: CLICK HERE
If you live in Australia you can purchase Stampin’ Up!® products from my online store.
Current Host Code (August 2024): NN39AWU4
(Use the hostess code when ordering less than $250. All orders over get a handmade card from me. Orders over $50 will receive a FREE gift, and collect stickers part of my Customer Loyalty Program! Orders over $90 will also get a FREE tutorial bundle the following month!!). Click here to shop now using the current Host Code.
Supplies:
You can purchase the of the supplies I used in this project. Please click on the image below to purchase. Thank you for your support.


 Cord")