Hello everybody!
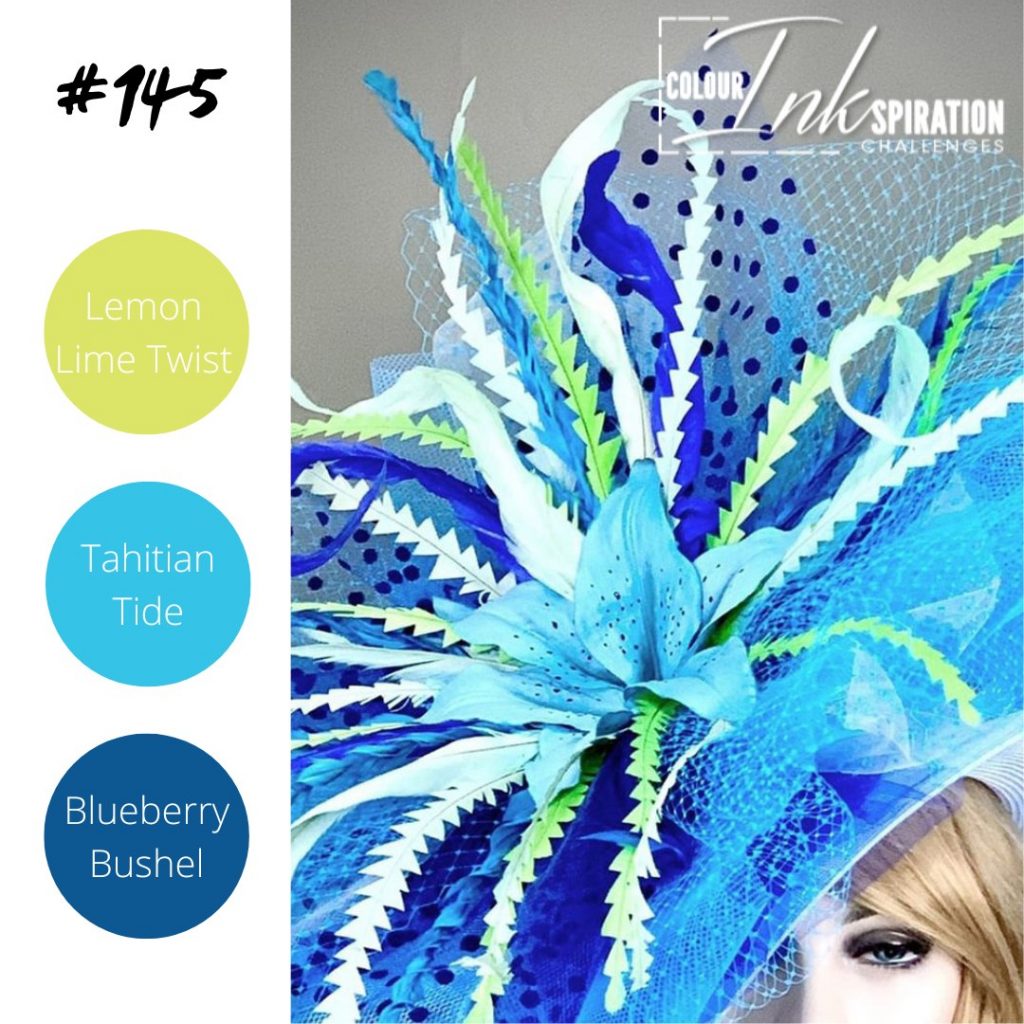
Welcome to my blog. It’s time for another Colour INKspiration Challenge. What I fun inspiration picture we have for you that features Lemon Lime Twist (so happy this colour is back!), Tahitian Tide, and Blueberry Bushel.
Here’s my project for this challenge:
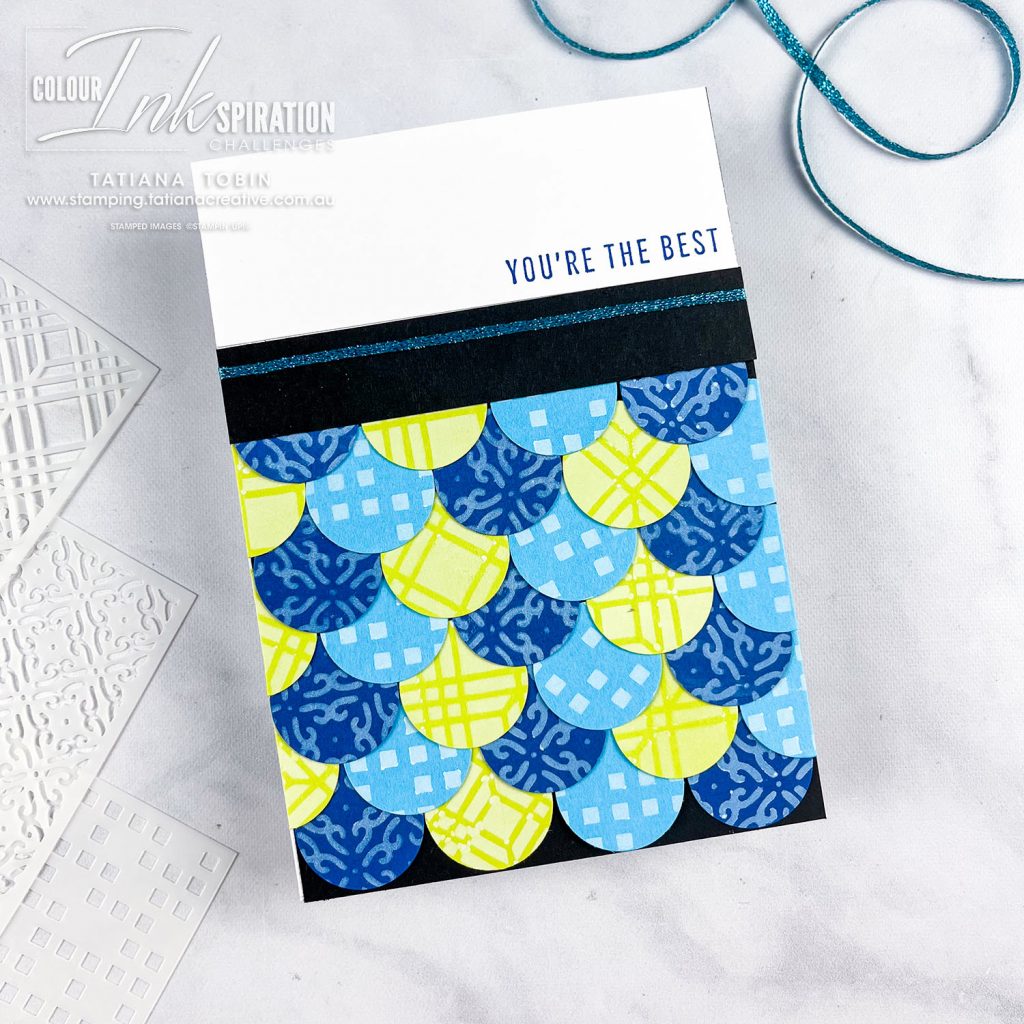
[All supplies used in this project are shown at the end of this post and are linked to my Stampin’ Up! online store. You can purchase them and create this project too! Thank you for your support of my stamping adventure]
Card Details:
- Card Base: Basic White Thick
- Card Front: Basic Black (10.5 x 14.85 cm and 10.5 x 2cm), Basic White (10.5 x approximately 4 cm), Lemon Lime Twist (quarter sheet), Tahitian Tide (quarter sheet), and Blueberry Bushel (quarter sheet)
- Card Insert: Basic White (10 x 14.35 cm)
- Using a Blending Brush with Whisper White Craft ink add some texture with the Foursquare Decorative Mask to the Lemon Lime Twist, Tahitian Tide, and Blueberry Bushel card stock. Use a different mask on each colour cardstock. Set aside to dry.
- Once dry use a 1″ circle punch (or die) to cut out circles from each of the three sheets.
- Take the large Basic Black card front and add a strip of Tear & Tape adhesive about 2cm above from the bottom edge and place down four circles so that they just touch the bottom of the cardstock and sit side by side.
- Add another strip of Tear & Tape Adhesive just above the circles and add the next row of circles placing them to sit over the top of the join of the first row. Place the colour that hasn’t been used in the two that you’re overlapping in the row below. This row will have the end ones handing off the edge of the card front.
- Continue till you have about 7 rows completed.
- Trim off the ends that are hanging over the edge.
- Adhere a strip of the Tahitian Tide Metallic Woven Ribbon over the small Basic Back card front piece. TIP: Add a strip of Tear & Tape on either side on the back. Attach the end of the ribbon to this and then pull over the front, fold back and attach the other end. Adhere this to the card front to cover the top of the last row of circles.
- Stamp your sentiment in Blueberry Bushel ink on the bottom left corner of the Back White card piece. Adhere to the card front and trim off any excess off the top.
- Adhere the mermaid scales card front to the card base.
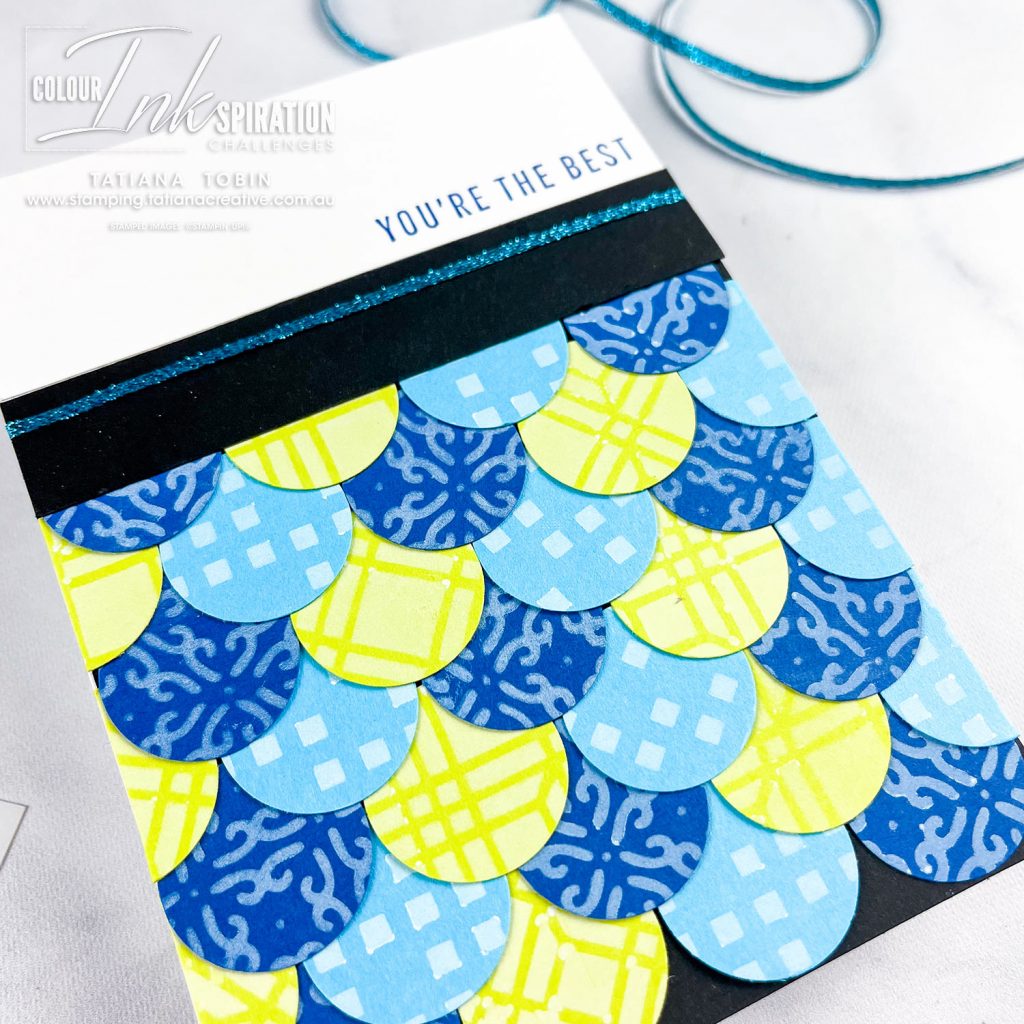
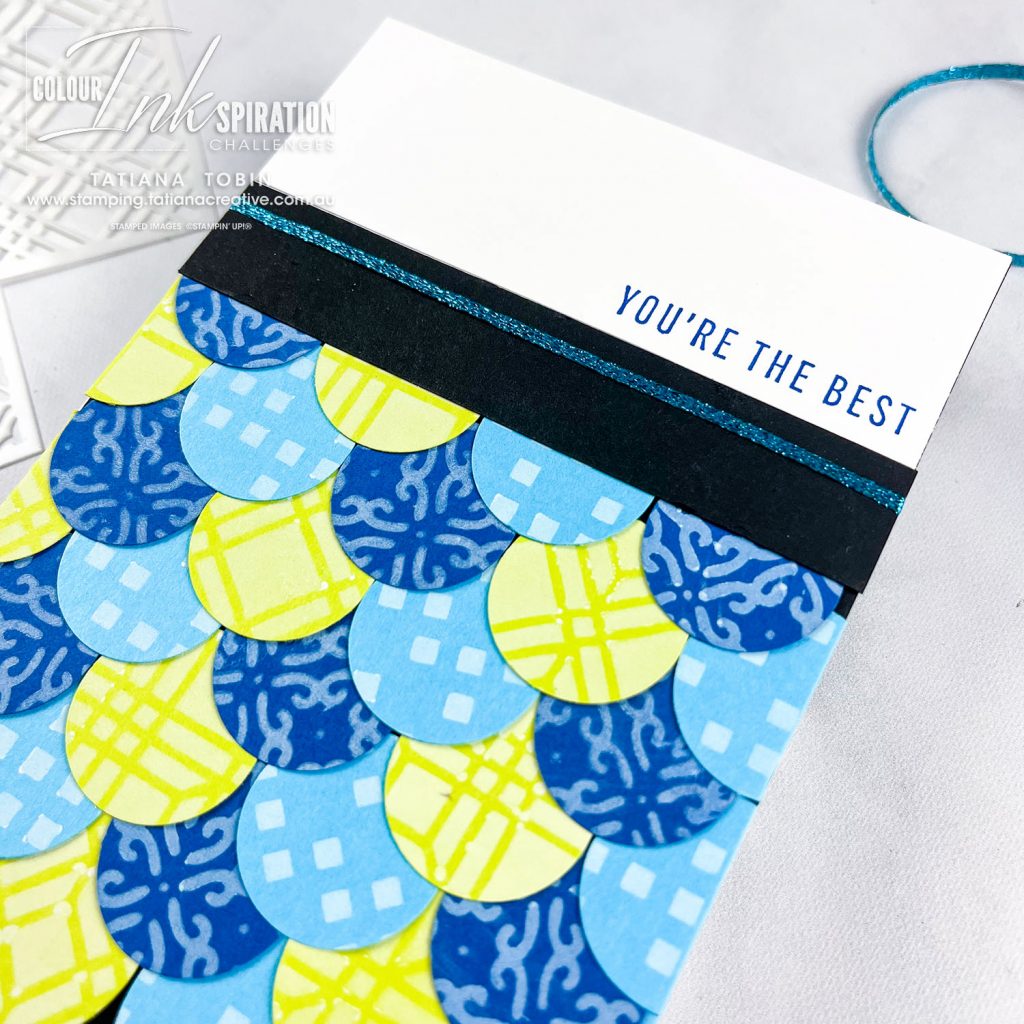
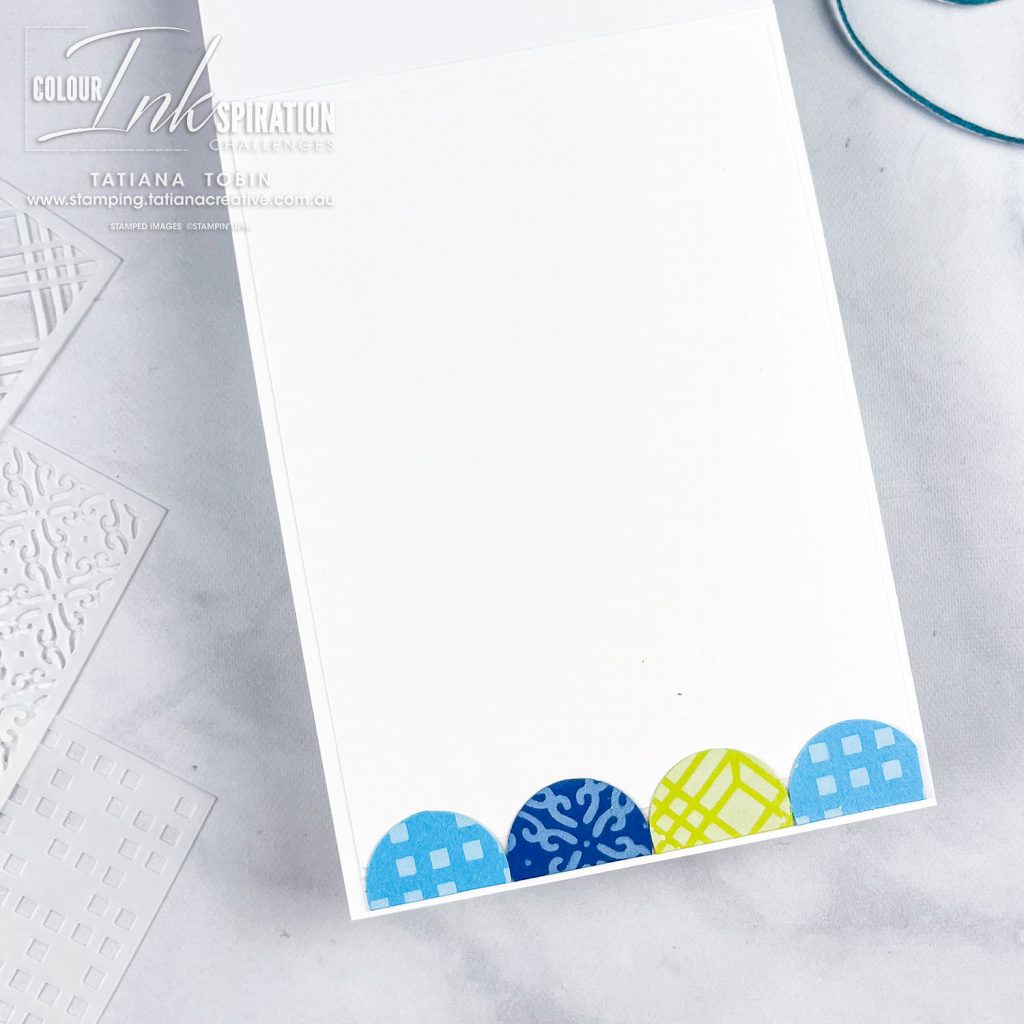
To complete the project I added some spare circles to the bottom of my card insert and trimmed off the excess.
INKspired to join the challenge? It’s so easy. Firstly, get some INKspiration by checking out all of the creations of the Colour INKspiration Crew in the challenge album on our Facebook Group. Then you have 12 days from today to make and upload your creation to the Facebook Colour INKspiration Group. You don’t have to have a blog to participate but if you do you can link back to your post. Make sure you use all of the challenge colours. You can also use neutrals such as Basic White, Very Vanilla, Crumb Cake, Sahara Sand and Basic Black as well as Metallics.
Not a member of the Colour INKspiration Facebook group yet? Just click here and ask to join Colour INKspiration, add the group to your favourites and share it with your crafty friends so they can join in the fun too. We can’t wait to see what you create with these gorgeous colours.
Thank you for visiting my blog! I hope that I’ve inspired you to be creative.
Bye for now!
Tatiana
- Join Stampin’ Up!® to start getting your products at 20% discount: CLICK HERE
- Request a Catalogue to see what products you can purchase: CLICK HERE
- Subscribe to my newsletter to keep up to date with the latest news: CLICK HERE
- Follow me on Facebook for regular updates and inspiration: CLICK HERE
- Go SHOPPING for clearance items and specials: CLICK HERE
If you live in Australia you can purchase Stampin’ Up!® products from my online store.
Current Host Code (August 2024): NN39AWU4
(Use the hostess code when ordering less than $250. All orders over get a handmade card from me. Orders over $50 will receive a FREE gift, and collect stickers part of my Customer Loyalty Program! Orders over $90 will also get a FREE tutorial bundle the following month!!). Click here to shop now using the current Host Code.
Supplies:
You can purchase the of the supplies I used in this project. Please click on the image below to purchase. Thank you for your support.
Please note that the sentiment I used was from the Translucent Florals stamp set which is not available to customers till September 2023.
Basic Supplies:
I highly recommend the following basic supplies to make your paper crafting experience easier. I use this products in every project.


