


Happy Monday everyone! It’s almost the end of the day!! I’m enjoying that my little man has gone back to school. Though I did not enjoy having to wake up to an alarm clock this morning. Today I’m introducing my product of the week: the Sponge Brayers

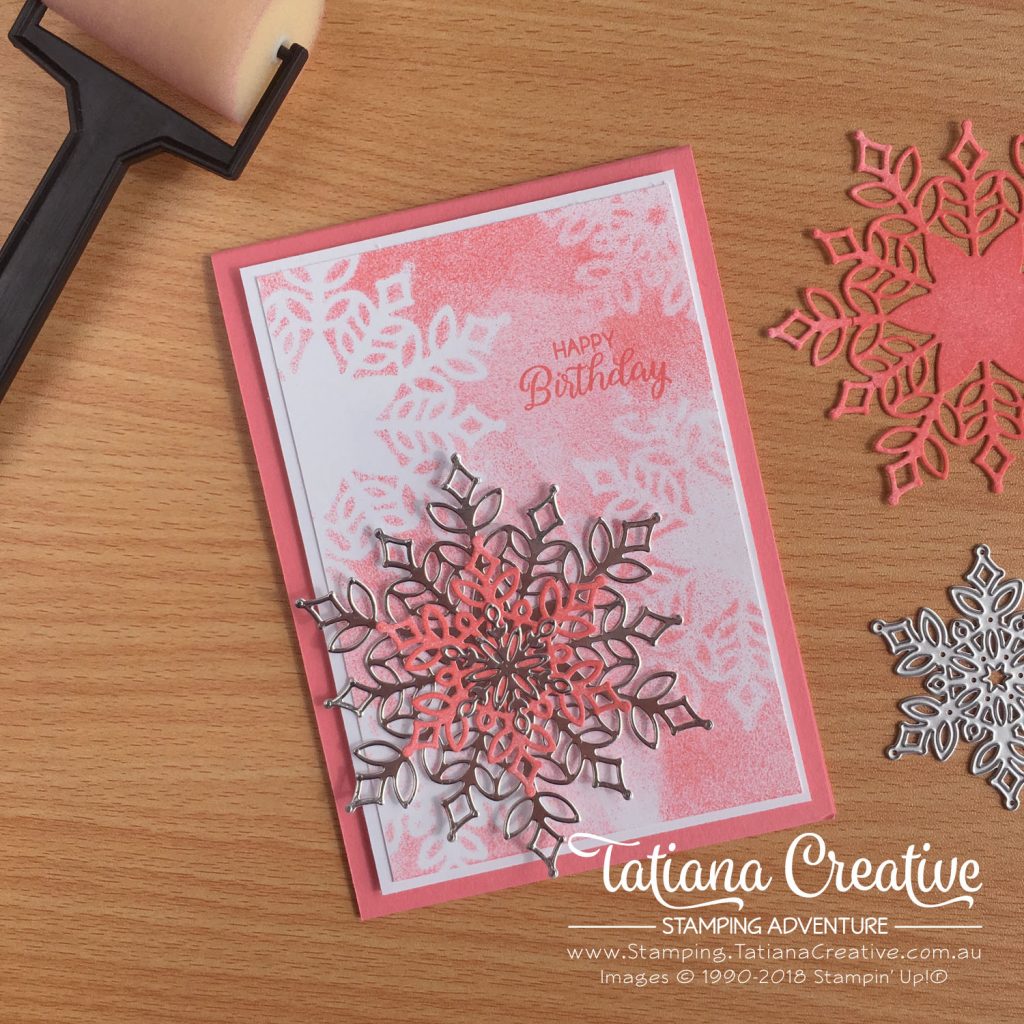
This is a very fun tool to have in your paper crafting supplies and there are so many fun techniques you can use it for. Over this week I will be showing you some of these. Today’s card I’ve used the Snowfall Thinlits Dies to create a mask when using the Sponge Brayer:
All supplies used in this card are shown at the end of this post in the thumbnails. These are linked to my Stampin’ Up! online store.
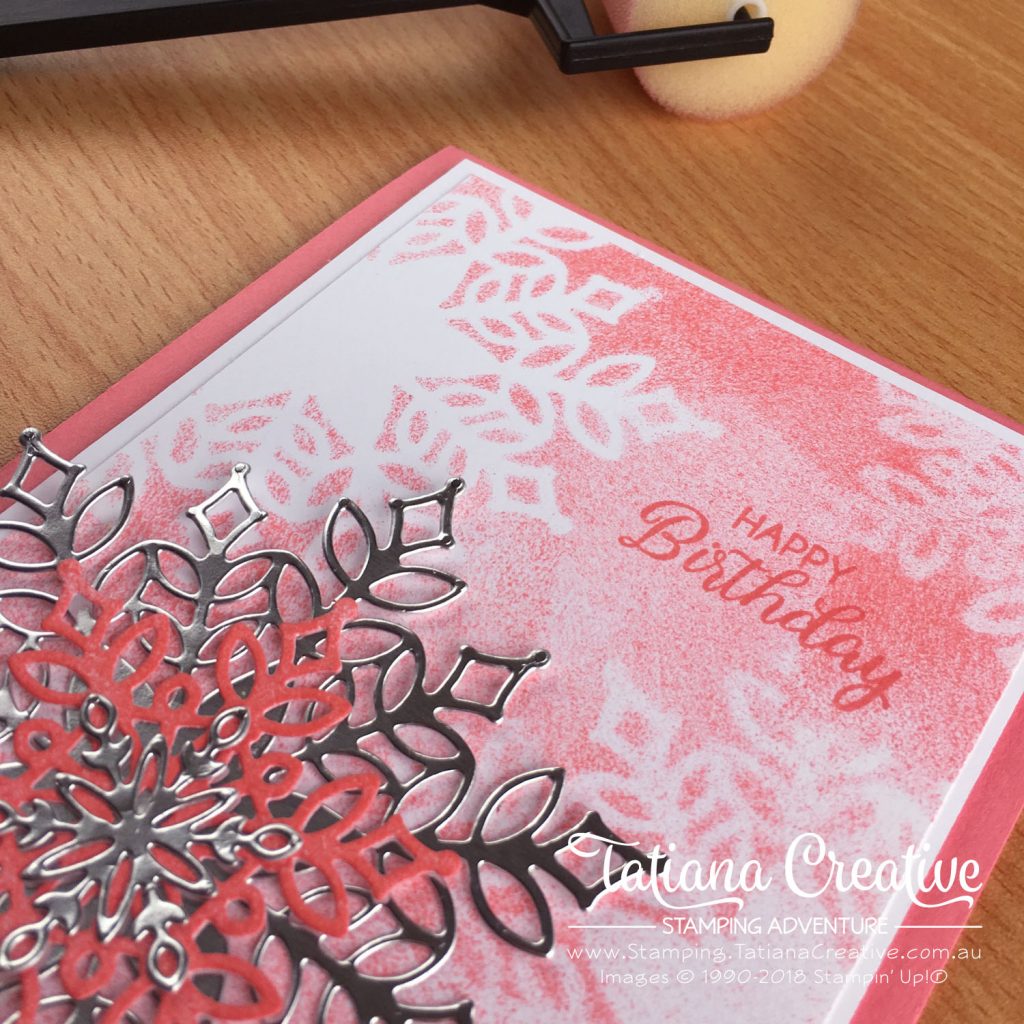
I love the texture that is created using the Sponge Brayer.
To create this card:
- Prepare card base. I used Flirty Flamingo.
- Prepare card front. For this card you need two from Whisper White cardstock. One 95mm x 138.5mm and the second 90mm x 133.5mm
- Cut from a piece of Whisper White cardstock some snowflakes from the Snowfall Thinlits Dies (available to customers from the 1st Nov). The larger ones work best. (TIP: to be more economical, cut these from the centre of the larger Whisper White cardstock, leaving the edge free. The cut outs from this will be hidden in the layering.)
- Place a snowflake onto the smaller Whisper White card front and start to go over it using the Sponge Brayer in your choice of colour, I used Flirty Flamingo.
- Repeat this process by moving the die cut and repeating. Use different sized snowflakes. Don’t be afraid to slightly go over a previously masked area.
- Stamp a sentiment onto the card front if you desire. I went with the “Happy Birthday” from the Beautiful Bouquet stamp set as I love all the sentiments there. I stamped in Flirty Flamingo.
- Adhere the masked sponge brayered card front to the larger Whisper White card front using Multipurpose Liquid Glue.
- Cut a large snowflake from Silver Foil Sheet and a small snowflake. Layer these with one of the medium sized snowflakes that was used as a mask (so its now Flirty Flamingo pink). Attach to each other using a Glue Dot and then adhere to the card front.
- Attach the card front to the card base using Stampin’ Dimensionals.
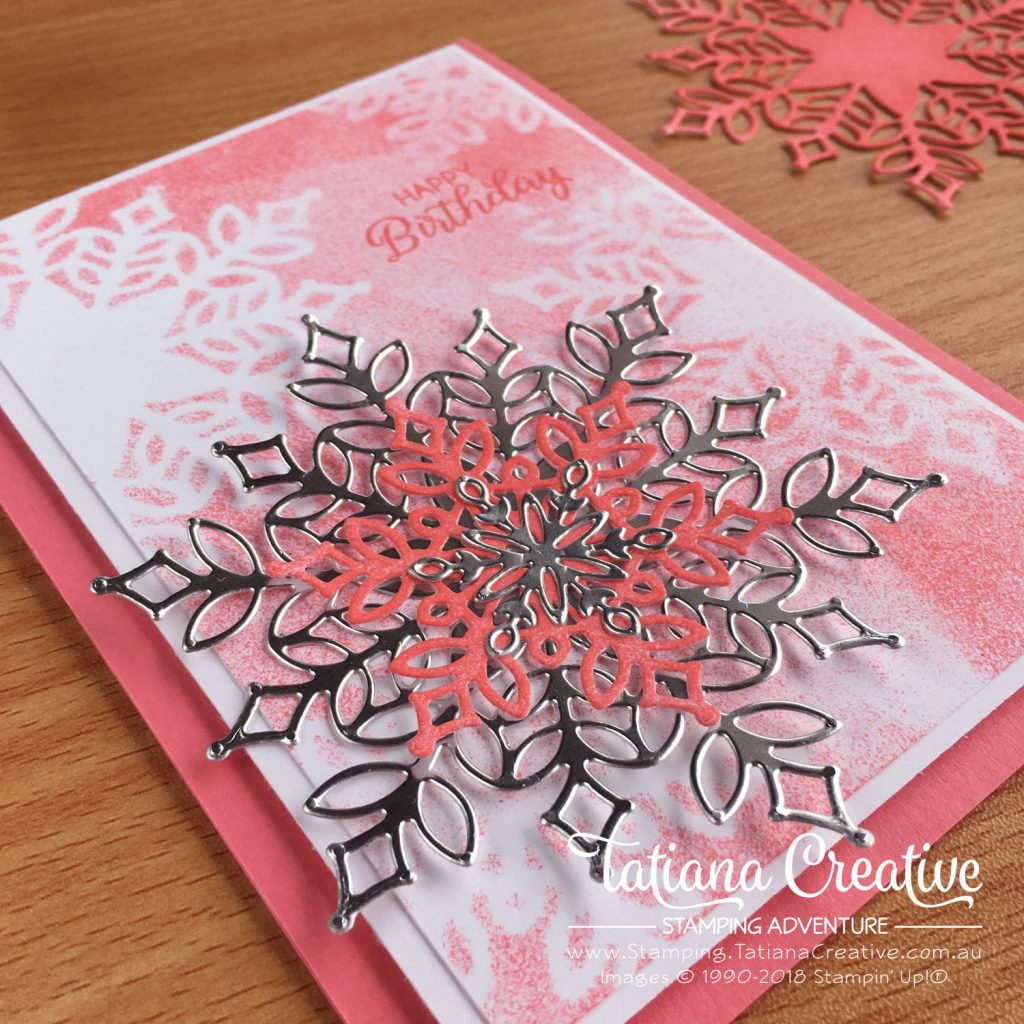
I loved using the masking snowflake on the front. It is not a solid colour, there’s some visual texture to it. You could also add to that snowflake stack a Snowflake Trinket. I had planned on using some Rose Metallic Thread behind the snowflake stack, but forgot! I still think the card looks great.
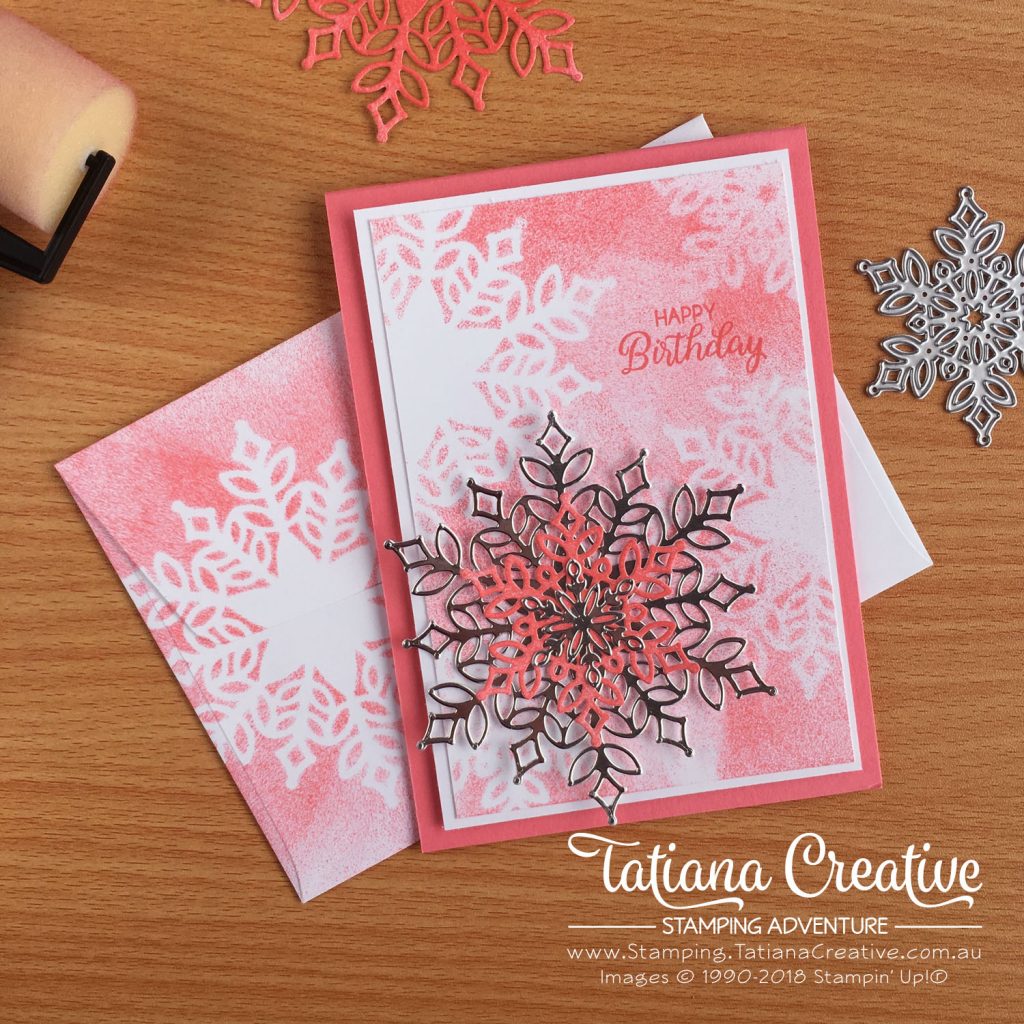
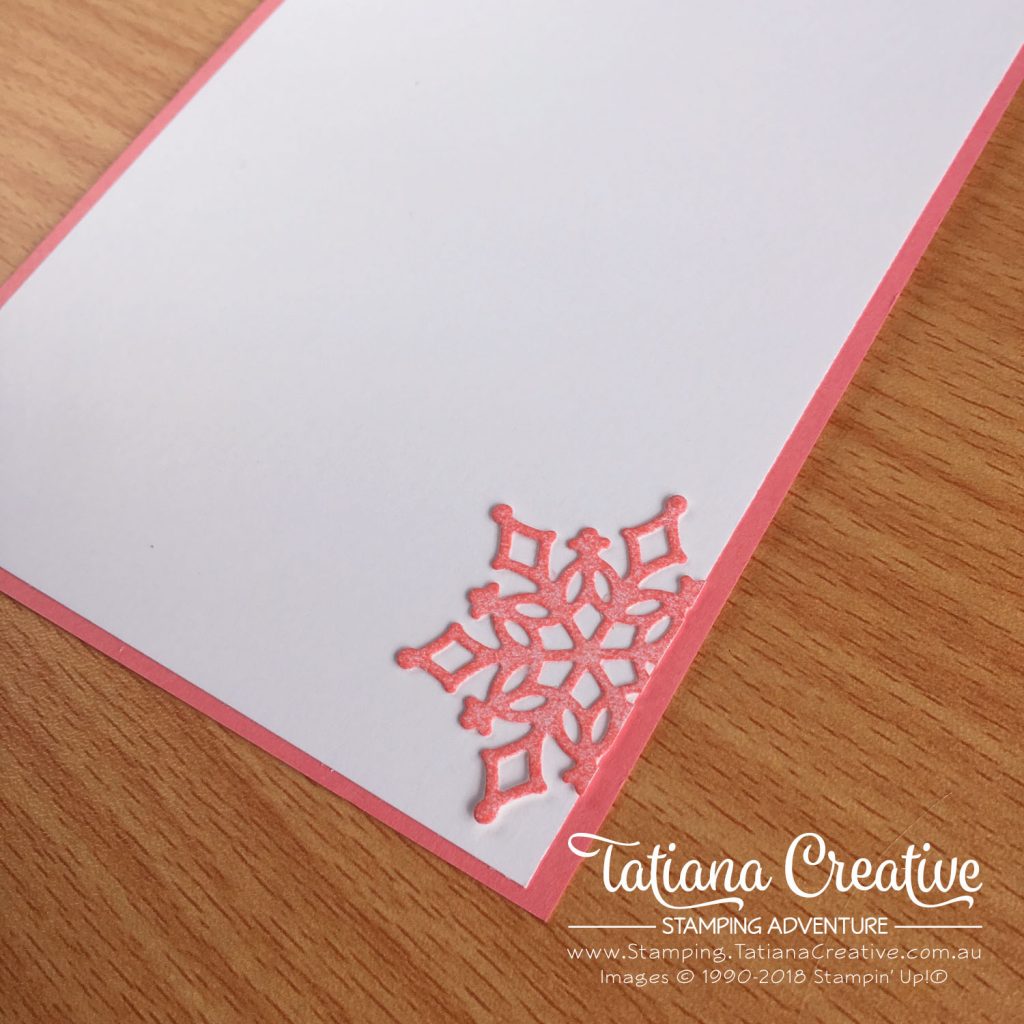
As always I decorated the envelope and inside the card to match. The envelope was done in the same way as the card front. Inside the card I glued a smaller snowflake which I coloured using the Sponge Brayer.
Thank you for visiting my blog! I hope that I’ve inspired you to be creative.
Bye for now!
Tatiana
- Join Stampin’ Up!® to start getting your products at 20% discount: CLICK HERE
- Request a Catalogue to see what products you can purchase: CLICK HERE
- Subscribe to my newsletter to keep up to date with the latest news: CLICK HERE
- Follow me on Facebook for regular updates and inspiration: CLICK HERE
- Go SHOPPING for clearance items and specials: CLICK HERE
If you live in Australia you can purchase Stampin’ Up!® products from my online store.
Current Host Code (August 2024): NN39AWU4
(Use the hostess code when ordering less than $250. All orders over get a handmade card from me. Orders over $50 will receive a FREE gift, and collect stickers part of my Customer Loyalty Program! Orders over $90 will also get a FREE tutorial bundle the following month!!). Click here to shop now using the current Host Code.
Supplies:
You can purchase the of the supplies I used in this project. Please click on the image below to purchase. Thank you for your support.


