Hello everybody!
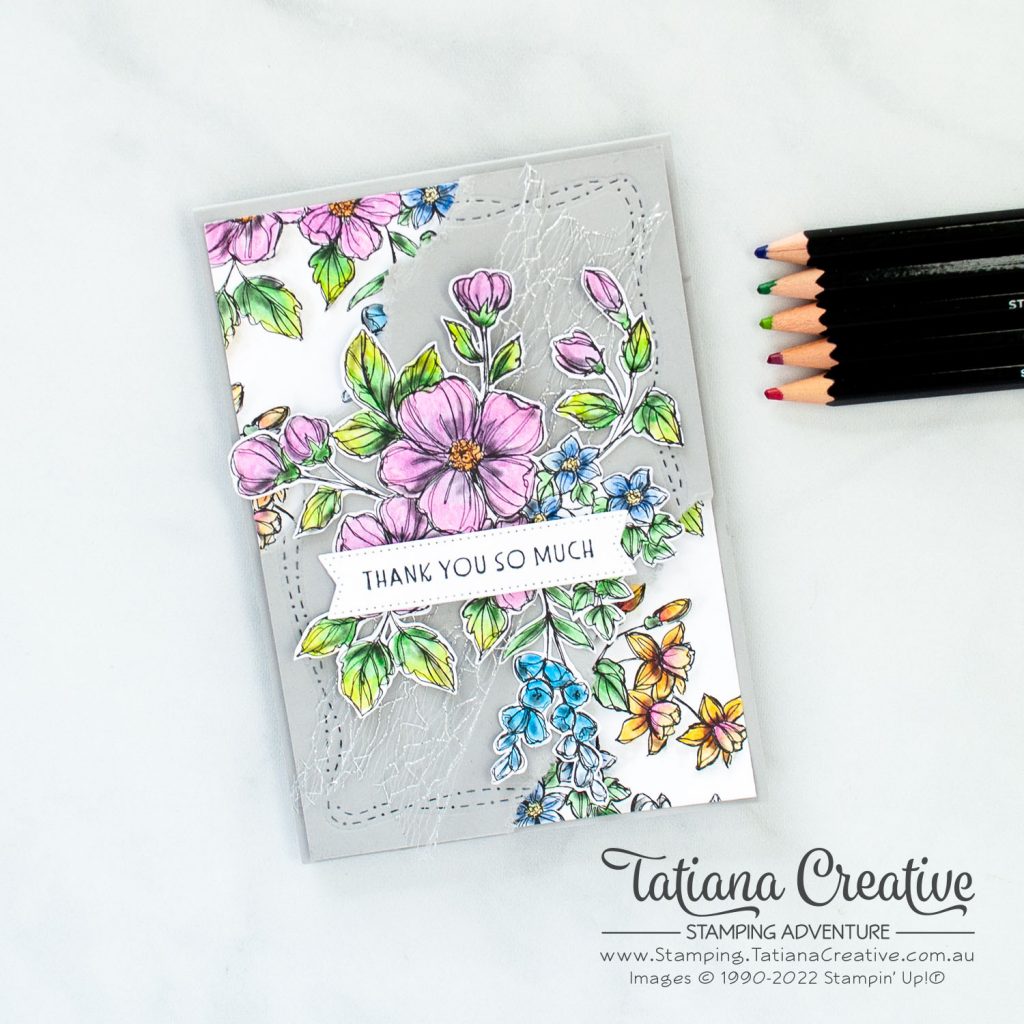
Welcome to my blog. Do you enjoy colouring? If so I have the most gorgeous DSP for you that is PERFECT to sit and colour! This is a new DSP from Stampin’ Up!® called Perfectly Penciled. It features six gorgeous floral designs to colour and on the reverse some fantastic black and white patterns. You really can’t go wrong with this DSP. I wouldn’t resist taking some time to relax and colour to create this card:

[All supplies used in this project are shown at the end of this post and are linked to my Stampin’ Up! online store. You can purchase them and create this project too! Thank you for your support of my stamping adventure]
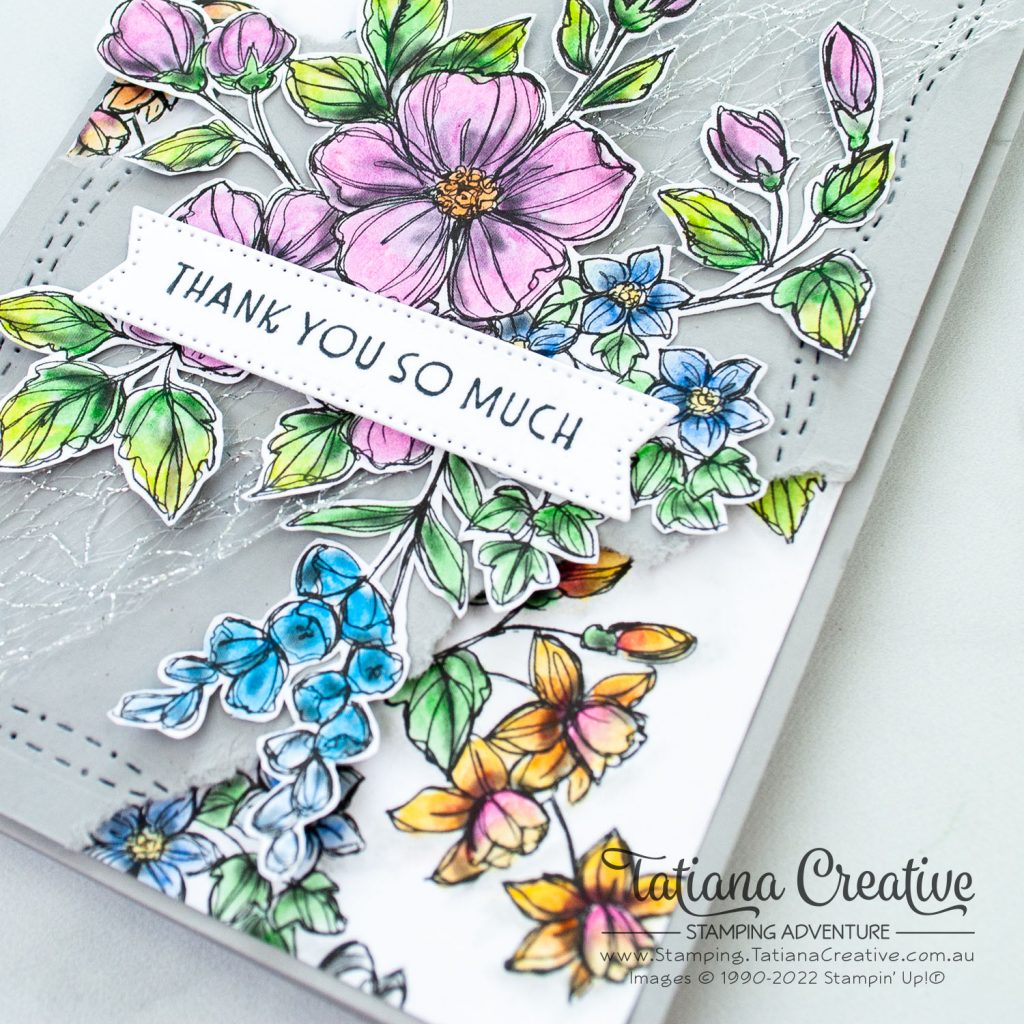
The ripped corners where inspired by a project I saw of Martin Stone’s. He had a pop of colour coming from behind Smoky Slate cardstock and this really sang to me. Click here to check out Martin’s creation (and I highly recommend you follow him too).
Card Details:
- Card Base: Smoky Slate cardstock
- Card Front: Perfectly Penciled DSP (10 x 14.35 cm) and Smoky Slate cardstock (10 x 14.35 cm)
- Sentiment Label: Basic White cardstock die cut using Stylish Shapes Dies
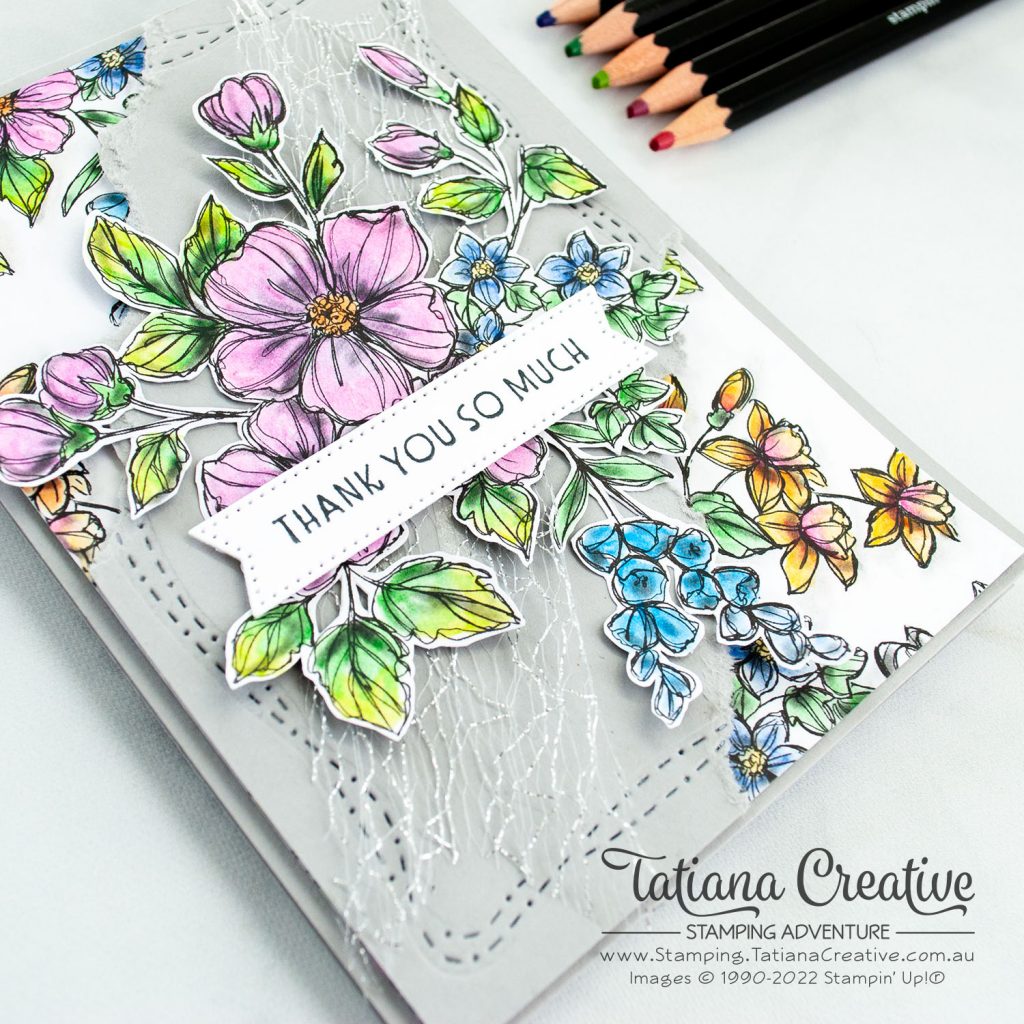
- Colour in the DSP card front using the Watercolor Pencils and Watercolor Penciled Assortment 2. Blend the colouring using a Blender Pen. Add a drop shadow using the Basic Gray Watercolor Pencil and Blender Pen.
- From another piece of the Perfectly Pencilled DSP colour in the big floral centre piece and then fussy cut out.
- Rip the corners of the Smoky Slate card front and then embossing using the Stitched With Whimsy Dies. TIP: the dies are proportionally different to an A4 cardstock, and you will need to emboss each corner separately.
- Assembly by adhering down the DSP card front to the card base, then layering over the top using Stampin’ Dimensionals the Smoky Slate. Add the floral centre piece with some Metallic Mesh Ribbon behind it. Add the sentiment label over the top. I used the Inspired Thoughts stamp set in Memento Tuxedo Black ink.


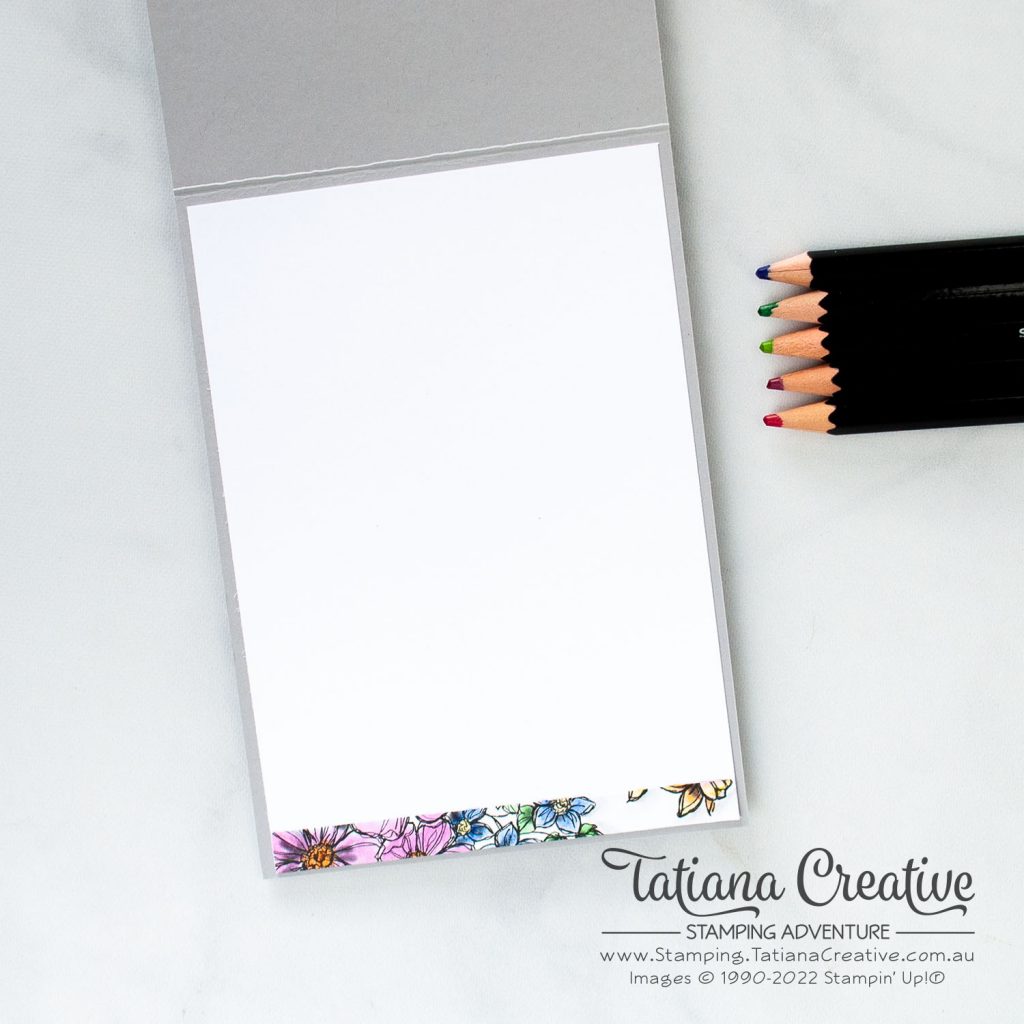
To complete the card, I added a strip of the DSP inside. I’ll admit I wasn’t sure how to finish off the envelope so I haven’t.
Thank you for visiting my blog!
Bye for now!
Tatiana
- Join Stampin’ Up!® to start getting your products at 20% discount: CLICK HERE
- Request a Catalogue to see what products you can purchase: CLICK HERE
- Subscribe to my newsletter to keep up to date with the latest news: CLICK HERE
- Follow me on Facebook for regular updates and inspiration: CLICK HERE
- Go SHOPPING for clearance items and specials: CLICK HERE
If you live in Australia you can purchase Stampin’ Up!® products from my online store.
Current Host Code (May 2024): BGP2A3W6
(Use the hostess code when ordering less than $250. All orders over get a handmade card from me. Orders over $50 will receive a FREE gift, and collect stickers part of my Customer Loyalty Program! Orders over $90 will also get a FREE tutorial bundle the following month!!). Click here to shop now using the current Host Code.
Supplies:
You can purchase the of the supplies I used in this project. Please click on the image below to purchase. Thank you for your support.


