


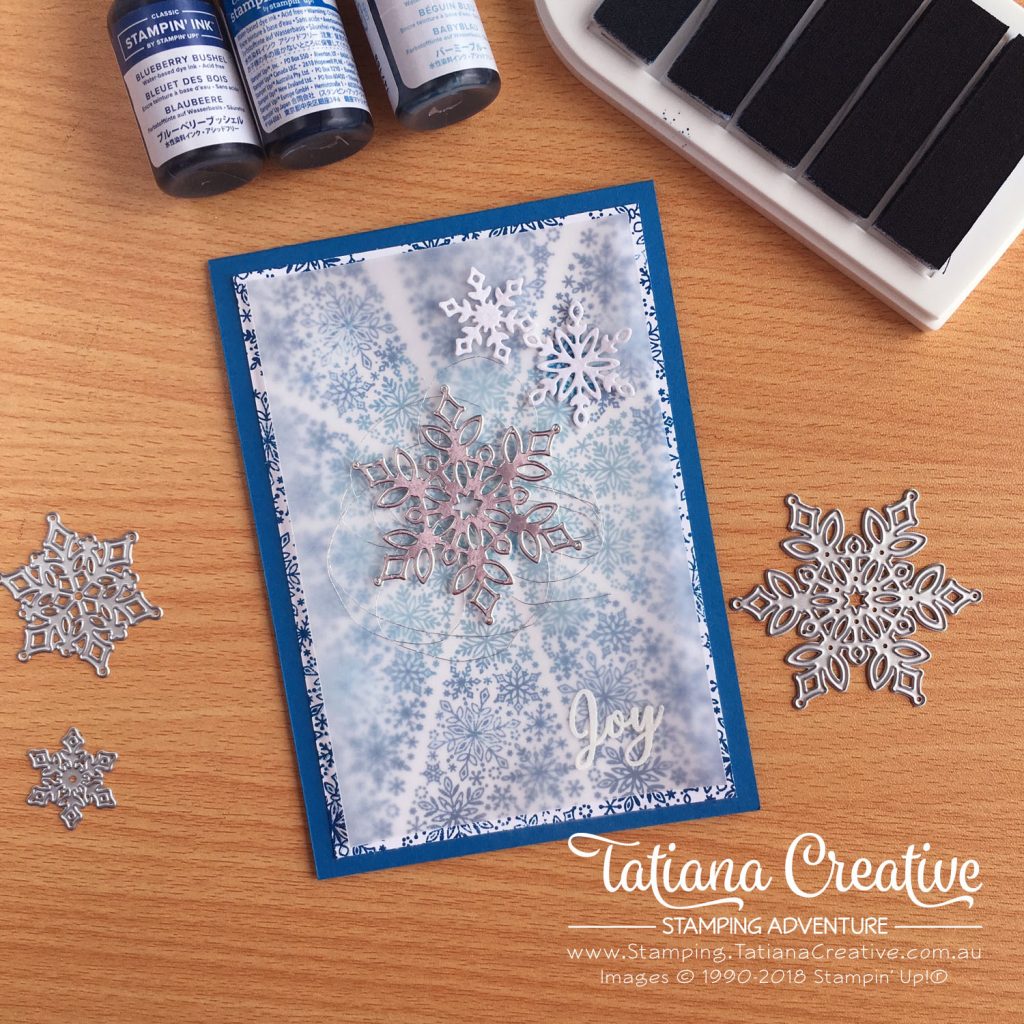
I am LOVING the Snowflake Showcase items, I just can’t seem to get enough of them! For today’s card I created a blue ombre Spectrum Pad and used the snowflake christmas tree stamp from the Snow Is Glistening stamp set.
All supplies used in this card are shown at the end of this post in the thumbnails. These are linked to my Stampin’ Up! online store.
To create this card:
- Prepare the Uninked Spectrum Pad with the first panel in Balmy Blue, third panel in Pacific Point and fifth panel in Blueberry Bushel. The second panel (between Balmy Blue and Pacific Point) I inked using equal quantities of Balmy Blue and Pacific Point. I mixed these separately and then used a plastic syringe to get the ink onto the pad. I repeated this process with the fourth panel but this time mixing Pacific Point and Blueberry Bushel. This now creates an Ombre Blue Pad.
- Prepare card base in Pacific Point
- Prepare card front in Whisper White 100mm x 145.5mm and Velum 95mm x 138.5mm
- Ink the Snowflake Christmas Tree from the Snow Is Glistening stamp set using the newly created Ombre Blue Pad. (TIP: The tree doesn’t quite fit onto the ink pad. I inked the tip of the tree in Balmy Blue to have the whole tree inked.
- Stamp the Snowflake Christmas Tree onto the Whisper White card front with the point pointing off centre (or centred if you’d like). Repeat step 4 and stamp again next to the fist with an even gap between the trees. Keep going around till the whole card front is covered.
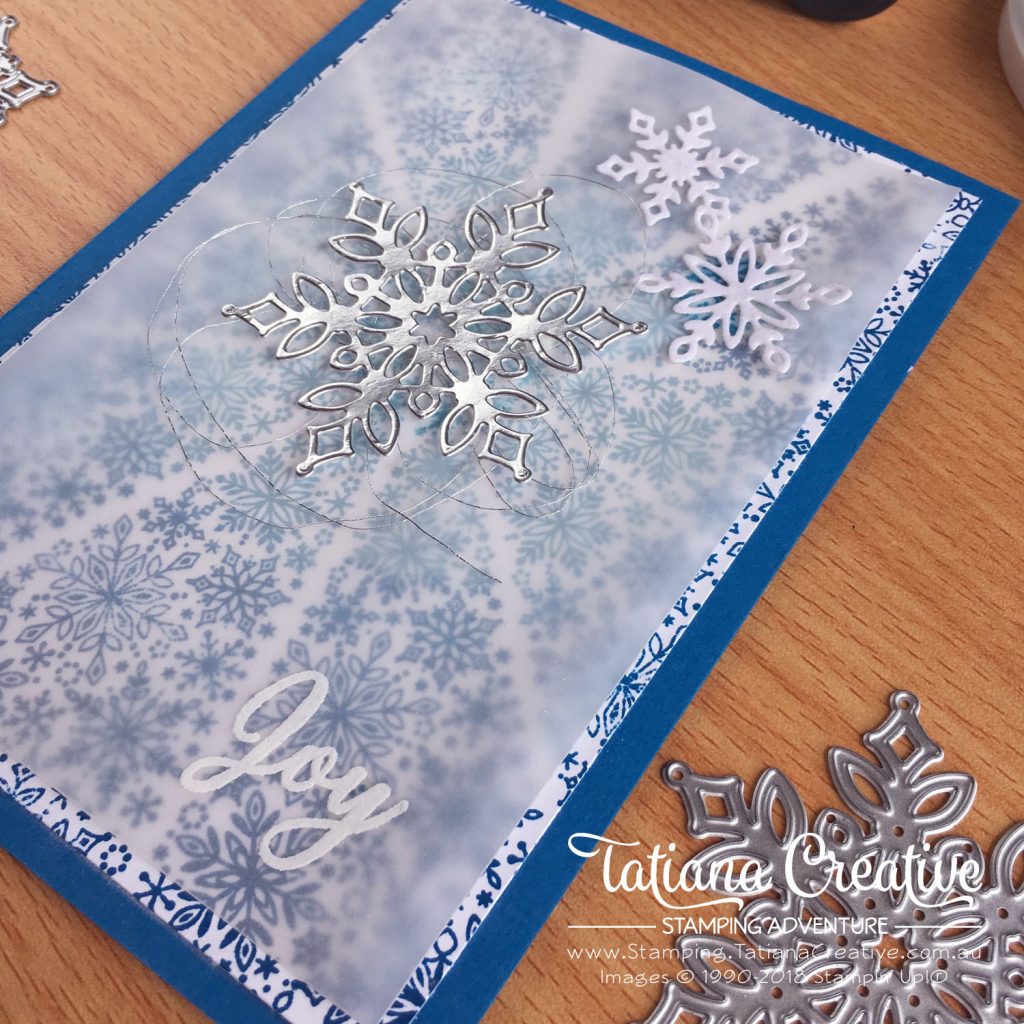
- Use embossing buddy on the White Velum card front and then heat emboss the “Joy” sentiment in white.
- Die cut the second largest snowflake from the Snowfall Thinlits Dies in Silver Foil and two smaller ones in the White Velveteen Sheet.
- Adhere Whisper White card front to the card base. Cover this in Velum – only adding glue to where the Snowflake Christmas Trees points meet.
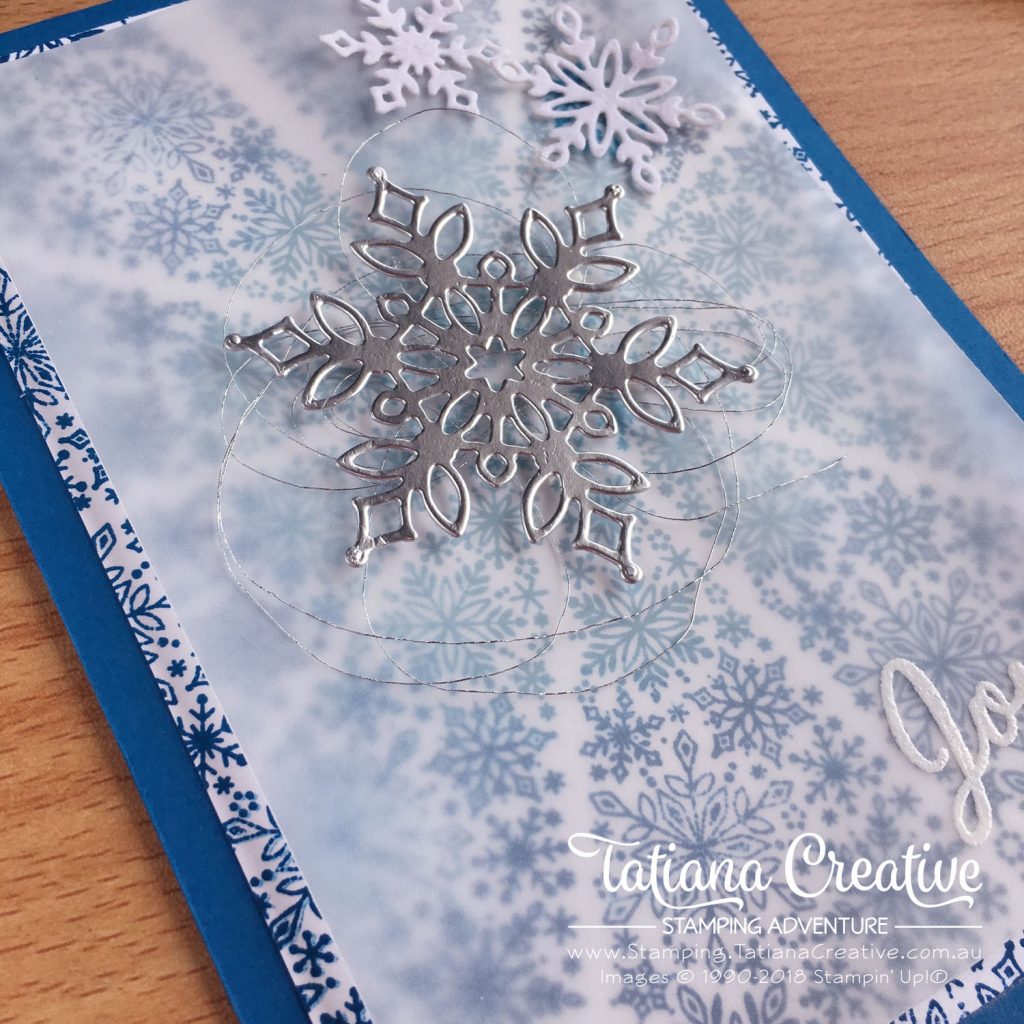
- Adhere the Silver Foil snowflake to where all the tips of the Snowflake Christmas trees meet using Stampin’ Dimensionals (first add some Silver Metallic Thread behind).
- Adhere the White Velveteen Snowflakes.
I wanted to soften the look of the Ombre Snowflake Christmas trees, so that’s why I added the Vellum. You don’t have to do this.
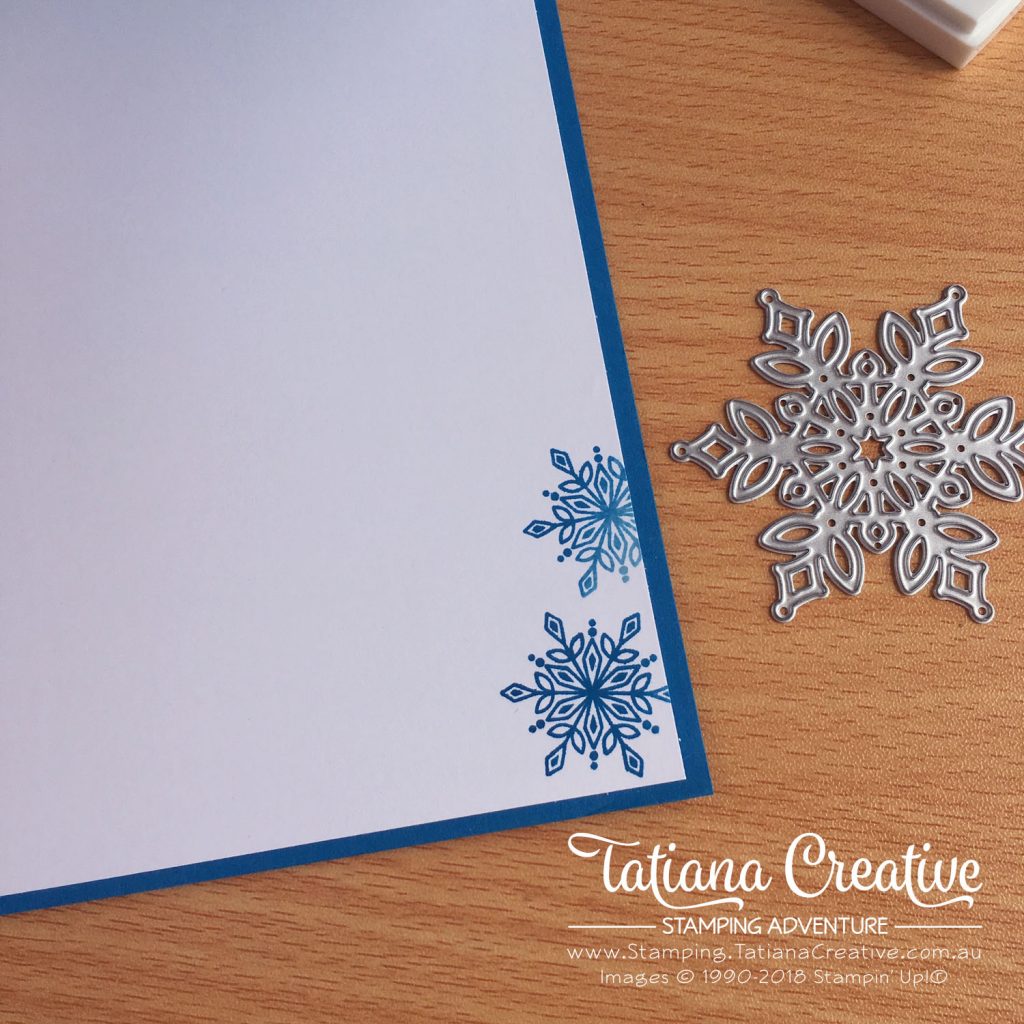
I decorated the inside of the card with some snowflakes. I used the ombre ink pad that was created.
Thank you for visiting my blog! I hope that I’ve inspired you to be creative.
Bye for now!
Tatiana
- Join Stampin’ Up!® to start getting your products at 20% discount: CLICK HERE
- Request a Catalogue to see what products you can purchase: CLICK HERE
- Subscribe to my newsletter to keep up to date with the latest news: CLICK HERE
- Follow me on Facebook for regular updates and inspiration: CLICK HERE
- Go SHOPPING for clearance items and specials: CLICK HERE
If you live in Australia you can purchase Stampin’ Up!® products from my online store.
Current Host Code (August 2024): NN39AWU4
(Use the hostess code when ordering less than $250. All orders over get a handmade card from me. Orders over $50 will receive a FREE gift, and collect stickers part of my Customer Loyalty Program! Orders over $90 will also get a FREE tutorial bundle the following month!!). Click here to shop now using the current Host Code.
Supplies:
You can purchase the of the supplies I used in this project. Please click on the image below to purchase. Thank you for your support.


