


Hello everybody!
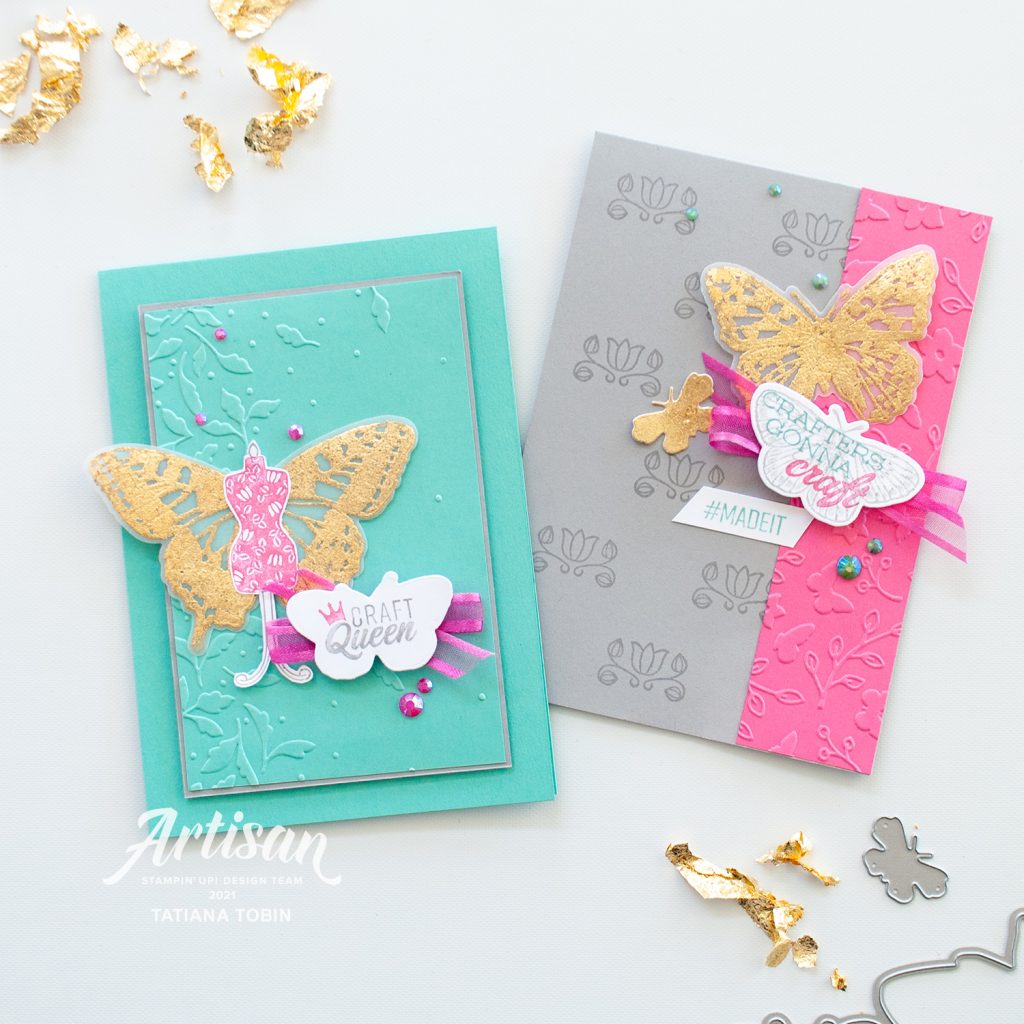
Welcome to my blog. I’m so super excited to be able to finally share these projects. Every member of the Artisan Design team has to create a set of projects for the Stampin’ Up!® Facebook Page. We get to choose which products we use for this. I had an idea in my head to combine the Handmade For You stamp set with the Butterfly Brilliance Bundle. I really LOVE how these turned out (can I say that?).
Inspiration to combine these two stamp sets came from a very unusual source: Ever After: A Cinderella Story. This is one of my favourite movies and I just LOVE the butterfly wing costume. I even tried re-creating it for my I think 18th Birthday.
[All supplies used in this project are shown at the end of this post and are linked to my Stampin’ Up! online store. You can purchase them and create this project too! Thank you for your support of my stamping adventure]
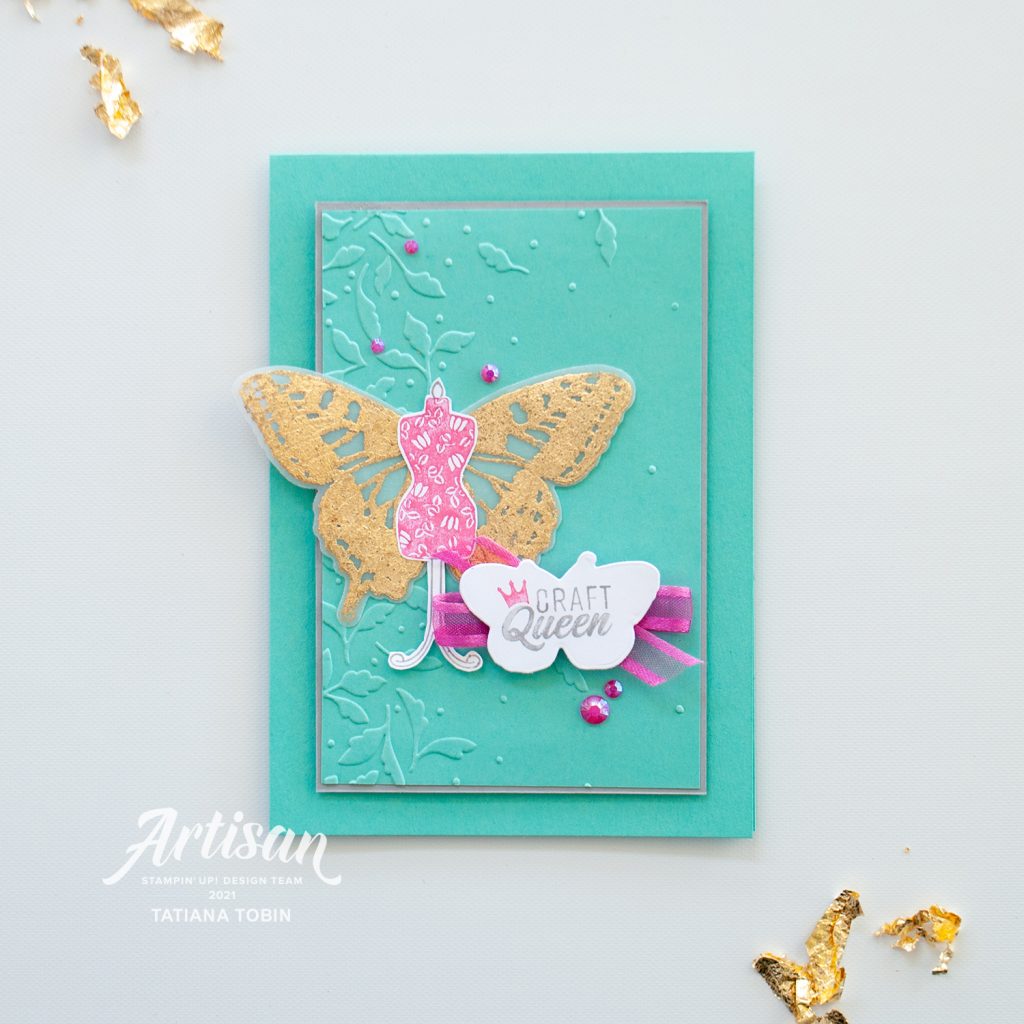
Craft Queen Card:
Craft Queen Card Details:
- Card Base: Coastal Cabana
- Card Front: Smoky Slate (8.5 x 12.8 cm) & Coastal Cabana (8.2 x 12.5 cm)
- Sentiment: Basic White die cut using Brilliant Wings Dies
- Emboss the Coastal Cabana card front with the leafy Meadow Moments Embossing Folder and then adhere to the Smoky Slate card front. Add this to the card base using Stampin’ Dimensionals.
- On a piece of White Vellum heat emboss with Heat & Stick Powder the large butterfly from the Butterfly Brilliance stamp set. Then add Gilded Leafing. Die cut out.
- On a piece of Basic White stamp the mannequin image from the Handmade For You stamp set. TIP: To stamp in two different colours, colour the stamp using the Polished Pink Stampin’ Write Marker on body and the Smoky Slate Stampin’ Write Marker on the stand and tip. Slightly puff onto the stamp and then stamp. Fussy cut it out.
- Add the butterfly wings to the back of the mannequin and adhere to the card front.
- Stamp the sentiment onto the butterfly shape. Again, like with the mannequin, colour the stamp with Stampin’ Write Markers. I found using the Stamparatus for this very helpful.
- Add some Polished Pink Open We’ve Ribbon behind the sentiment and add to the card.
- Colour some white From My Heart Faceted Gems with Polished Pink Dark Stampin’ Blend and add them to the card.
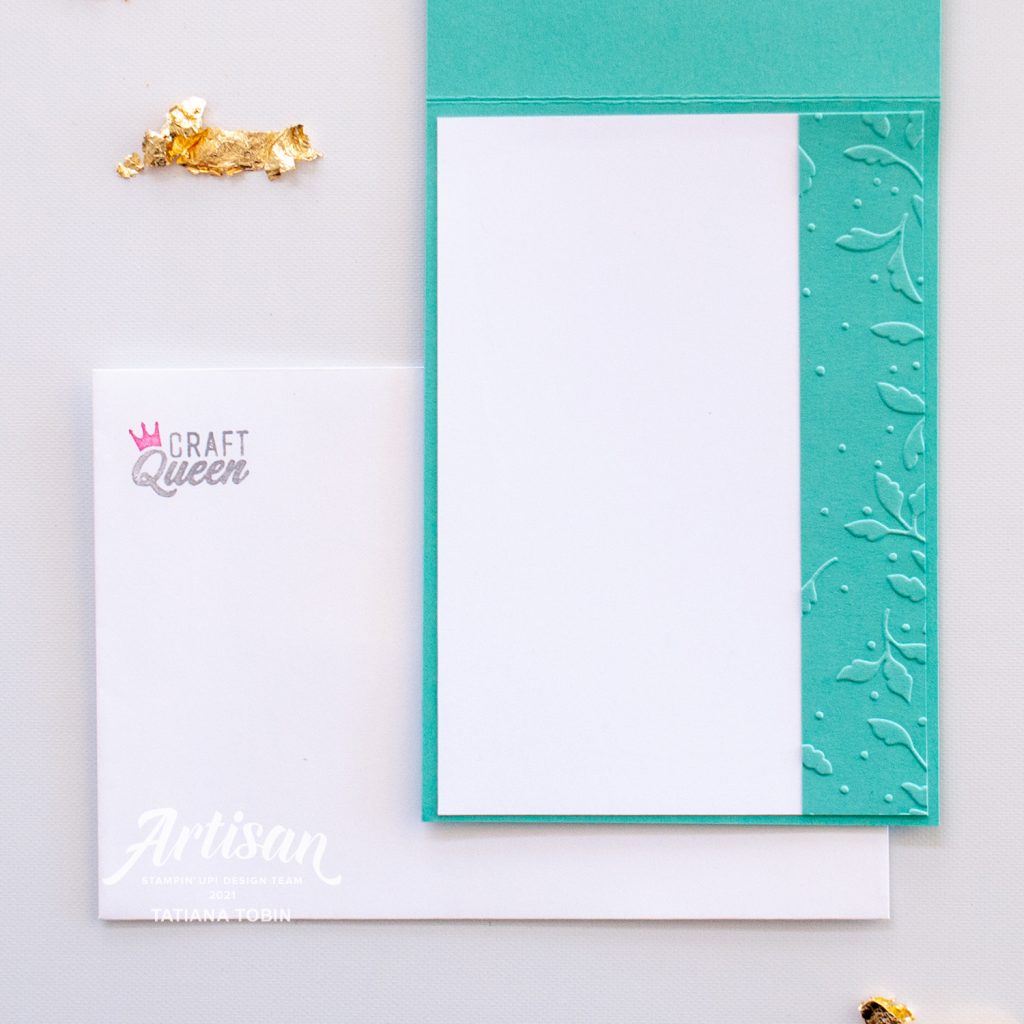
I like to say no card is complete till you have decorated the envelope and the inside of the card. I wanted to keep it simple for this project. I stamped the sentiment onto the envelope and added a strip of Coastal Cabana card stock embossed to the inside.
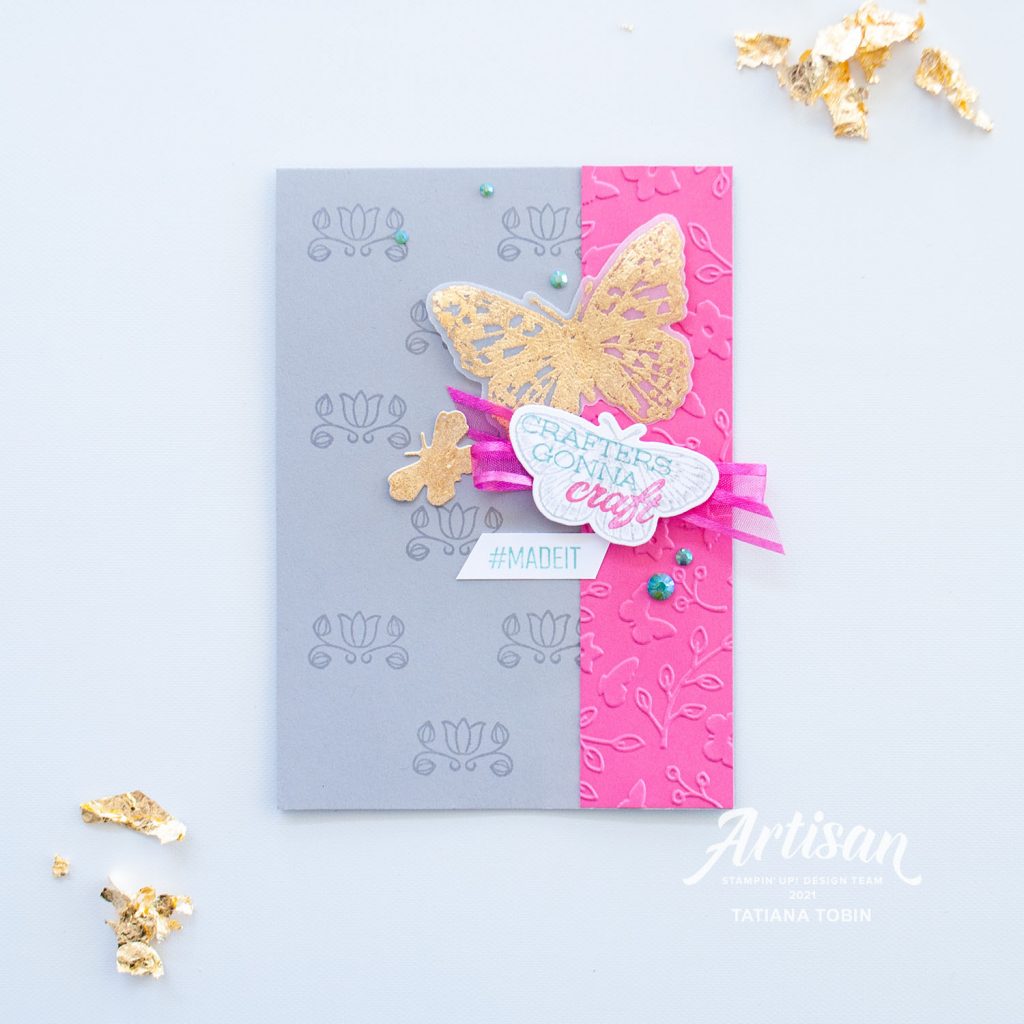
Crafters Gonna Craft Card:
Crafters Gonna Craft Details:
- Card Base: Smoky Slate
- Card Front Strip: Polished Pink (3.5 x 14.8 cm)
- Onto the card front stamp in Smoky Slate the floral image. TIP: I used the Stamparatus to position each one.
- Emboss the card front strip in the butterfly Meadow Moments Embossing Folder. Adhere to the card front.
- On a piece of White Vellum heat emboss with Heat & Stick Powder a medium butterfly from the Butterfly Brilliance stamp set. Then add Gilded Leafing. Die cut out. Add this to the card front.
- Die cut out a small butterfly and cover it in Versamark and then Heat & Stick Powder. Heat set and cover the butterfly in Gilded Leafing. Add this to the card front.
- Die cut out the small bottom left butterfly out. Keep the negative to use as a guide in the Stamparatus. Line up the stamp in the Stamparatus and then stamp the butterfly onto the die cut in second generation Smoky Slate ink.
- Still using the Stamparatus, stamp the sentiment over the butterfly. To make the sentiment two colours, colour the stamp using the Polished Pink Stampin’ Write Marker and the Coastal Cabana Stampin’ Write Marker. Slightly puff onto the stamp and then stamp over the butterfly. You’ll get perfect alignment if you use the negative and the Stamparatus.
- Add the sentiment butterfly to the card front with some Polished Pink Open Weave Ribbon behind it.
- Stamp #MADEIT on a strip of Basic White, and add to the card.
- To finish the card, colour some white From My Heart Faceted Gems using the Bermuda Bay Stampin’ Blends Dark marker. Add them to the card.
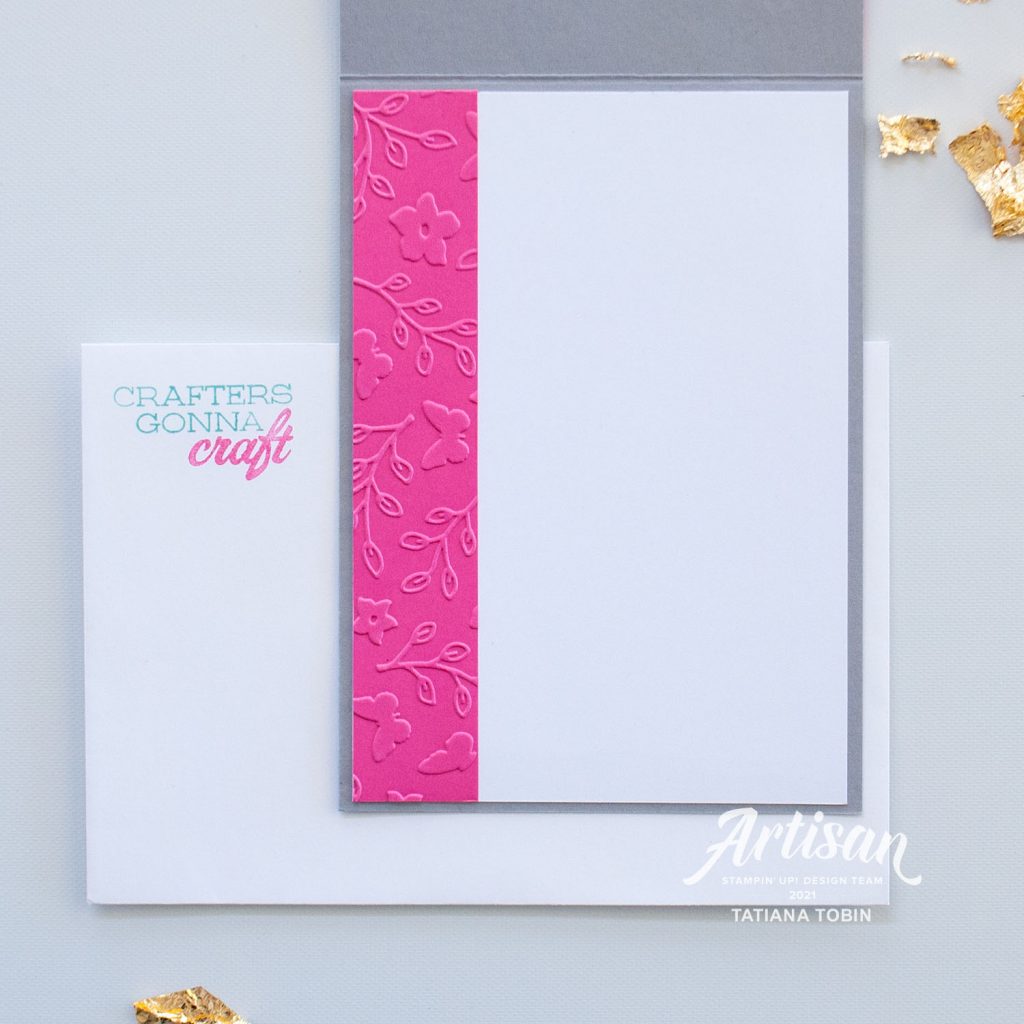
To complete this project I did the same concept as the previous. Stamp the sentiment onto the envelope. Add a piece of Polished Pink card stock embossed with the Meadow Moments Embossing Folder.
Thank you for visiting my blog! I hope that I’ve inspired you to be creative.
Bye for now!
Tatiana
- Join Stampin’ Up!® to start getting your products at 20% discount: CLICK HERE
- Request a Catalogue to see what products you can purchase: CLICK HERE
- Subscribe to my newsletter to keep up to date with the latest news: CLICK HERE
- Follow me on Facebook for regular updates and inspiration: CLICK HERE
- Go SHOPPING for clearance items and specials: CLICK HERE
If you live in Australia you can purchase Stampin’ Up!® products from my online store.
Current Host Code (August 2024): NN39AWU4
(Use the hostess code when ordering less than $250. All orders over get a handmade card from me. Orders over $50 will receive a FREE gift, and collect stickers part of my Customer Loyalty Program! Orders over $90 will also get a FREE tutorial bundle the following month!!). Click here to shop now using the current Host Code.
Supplies:
You can purchase the of the supplies I used in this project. Please click on the image below to purchase. Thank you for your support.
Craft Queen Card Supplies:


 Open Weave Ribbon")


Crafters Gonna Craft Supplies:


