Hello everybody! Welcome to my blog!
I can’t believe another month has past and I’m blog hopping with the aWOW (Around the World on Wednesday) team again. Be prepared to be wowed as we all try something new to us. I had a lot of trouble deciding what new thing I should try. There’s so many possibilities out there. Eventually I was inspired by one of my favourite New Zealand card makers Paula Dobson to make the card base using dies! In Paula’s example she made a large circle card. I decided to make a mini card using the scalloped stitched rectangle from the Stitched So Sweetly Dies:
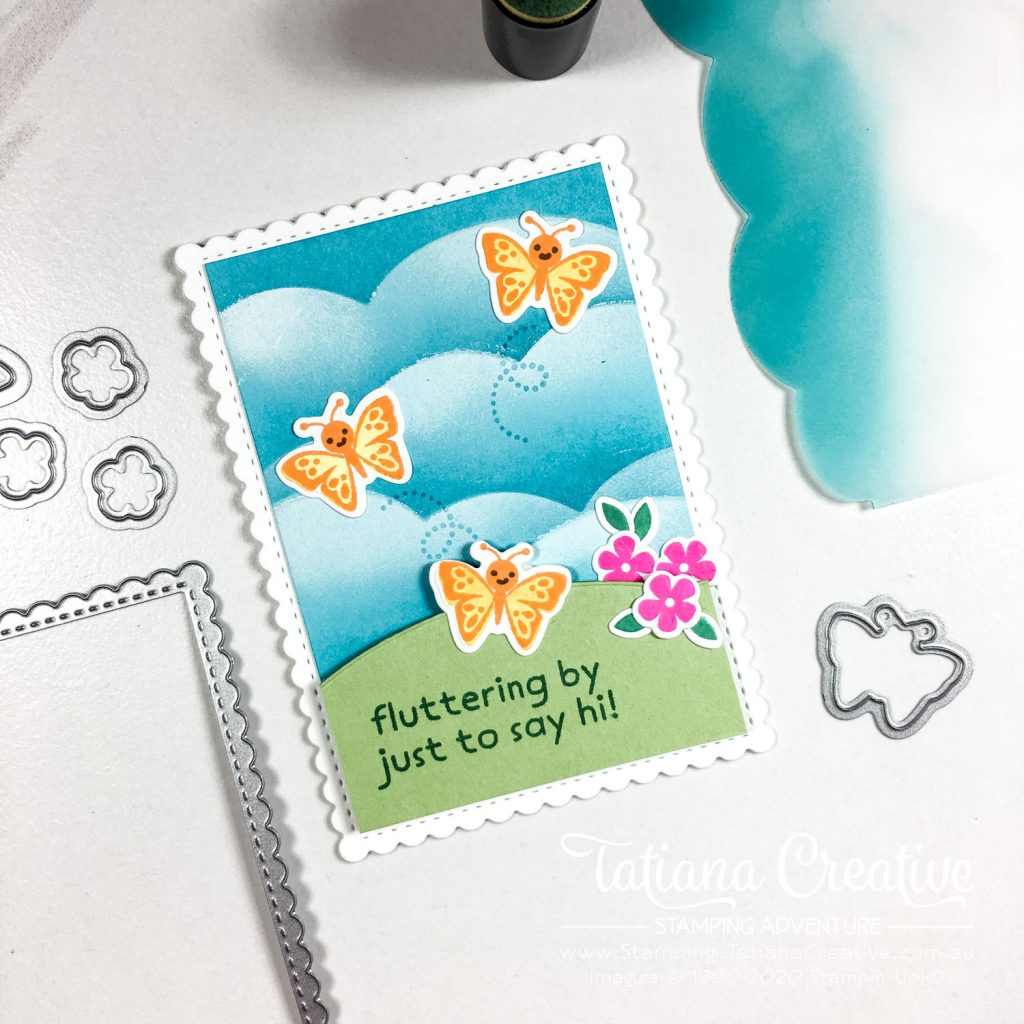
[All supplies used in this project are shown at the end of this post and are linked to my Stampin’ Up! online store. You can purchase them and create this project too! Thank you for your support of my stamping adventure]
Card Details:
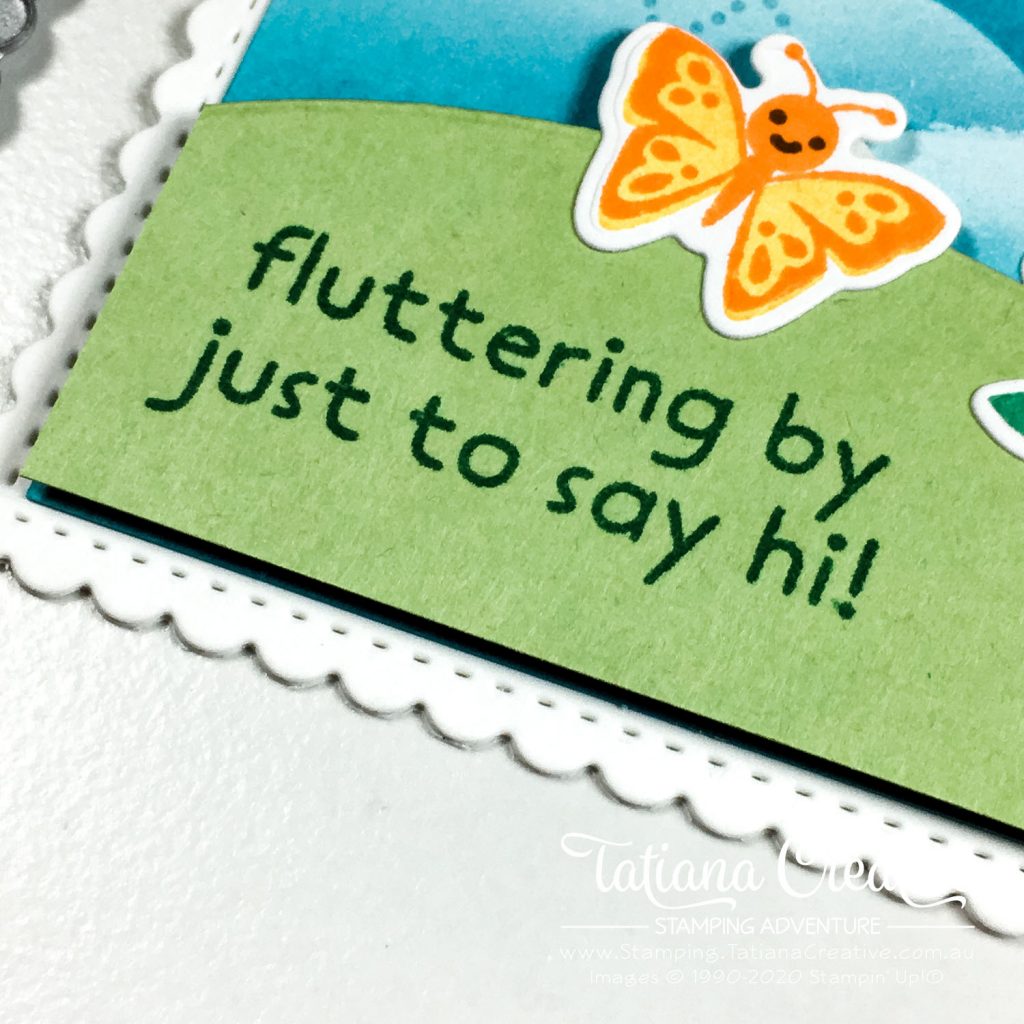
- Card Base: Whisper White Thick – two stitched scalloped rectangles from the Stitched So Sweetly Dies, one scored 1cm from the top.
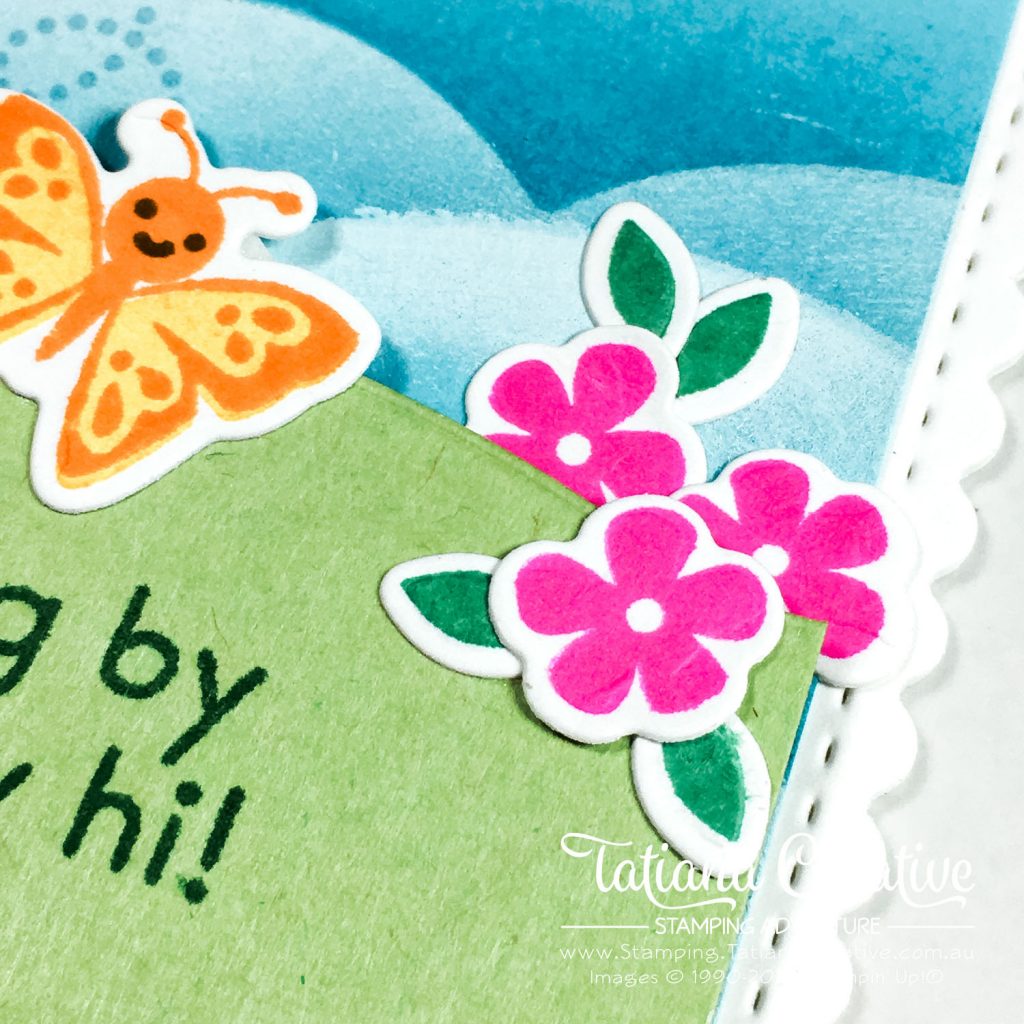
- Card Front: Balmy Blue (6.5 x 9.5 cm) and Pear Pizzazz die cut with the curved rectangular die from the Hippo & Friends Dies and then cut down to 6.5 x 3.2 cm to make it look like a hill.
- To create the card base, add some Tear & Tape Adhesive to the stitched scalloped rectangle above the score line. Take the release paper off and then place the second stitched scalloped rectangle on top pressing down where the Tear & Tape is. This creates a top opening card.
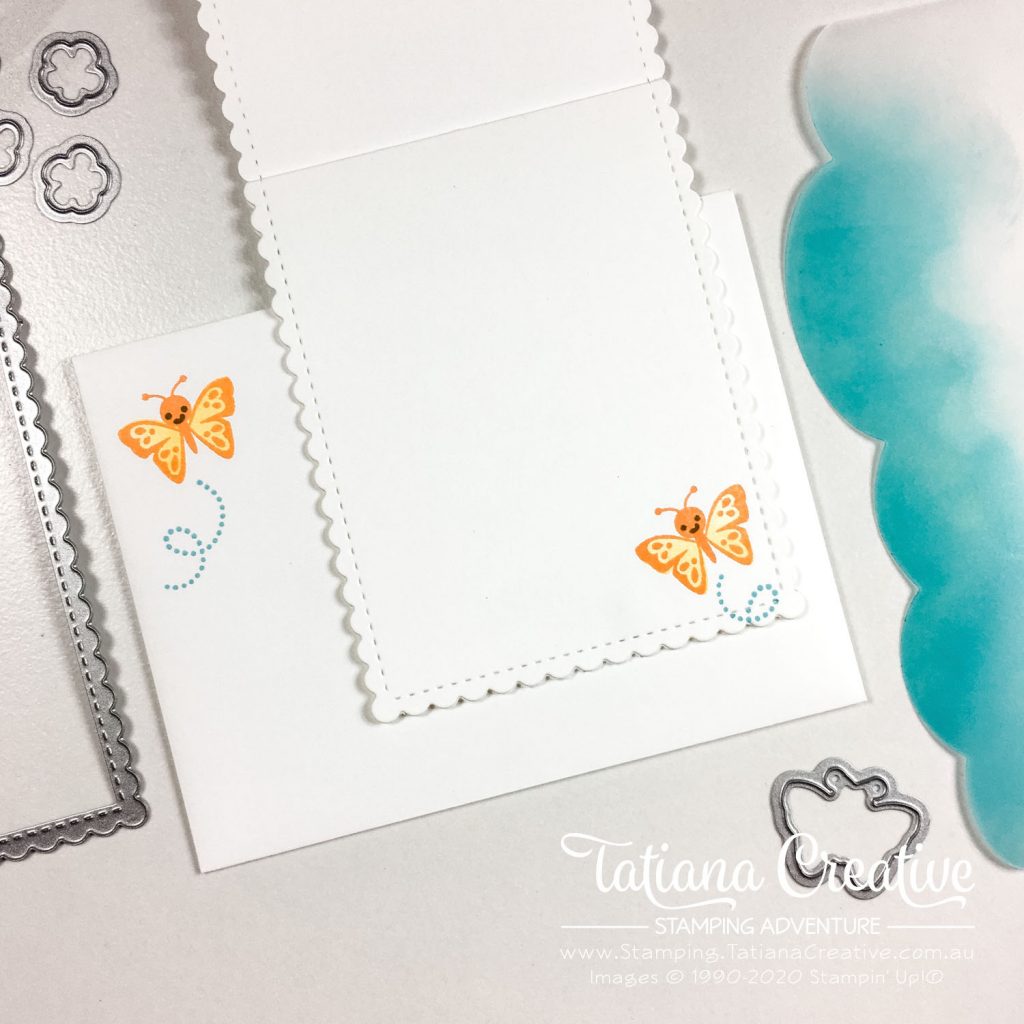
- For the sky background I first created a cloud template from Vellum using the cloud die from the Happy Dies. Then using this template I blended some Balmy Blue on to the Balmy Blue card front. Starting at the bottom and moving the cloud template up and changing it’s angle. Then I took the negative cloud template and placed in over the clouds created and blended Whisper White craft ink to make the tops of the clouds look whiter.
- I stamped the butterflies, flowers (Magenta Madness) and leaves (Just Jade) onto Whisper White and then die cut from the coordinating dies. TIP: For the butterflies I found it easier to first stamp the body/outline (I used Pumpkin Pie ink) the the wings (I used Mango Melody), then the face (Soft Suede).
- Stamp the sentiment on the Pear Pizzazz hill in Just Jade ink. Add some flutter dots for the butterflies on the sky in Balmy Blue ink.
- Adhere the sky to the card front using glue of your choice and then the hill using Stampin’ Dimensionals.
- Add the flowers and the butterflies.
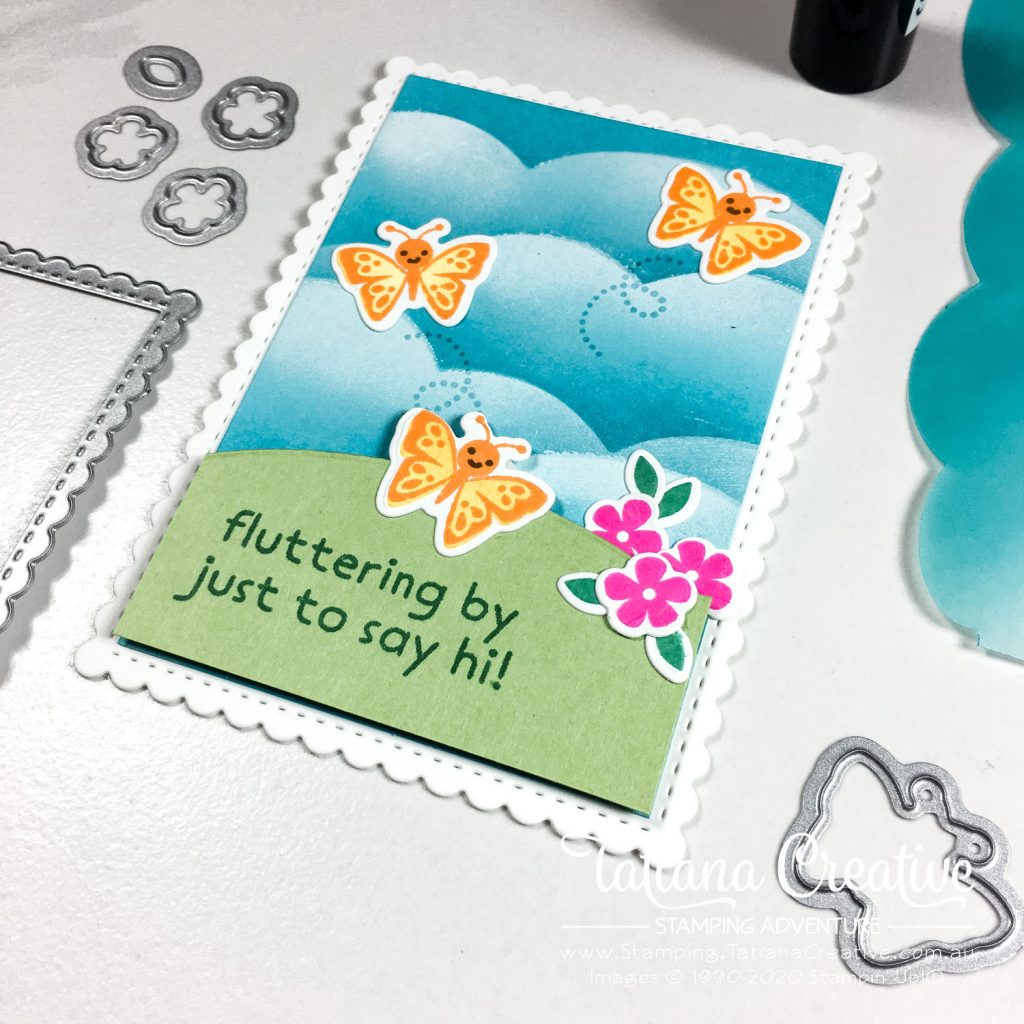
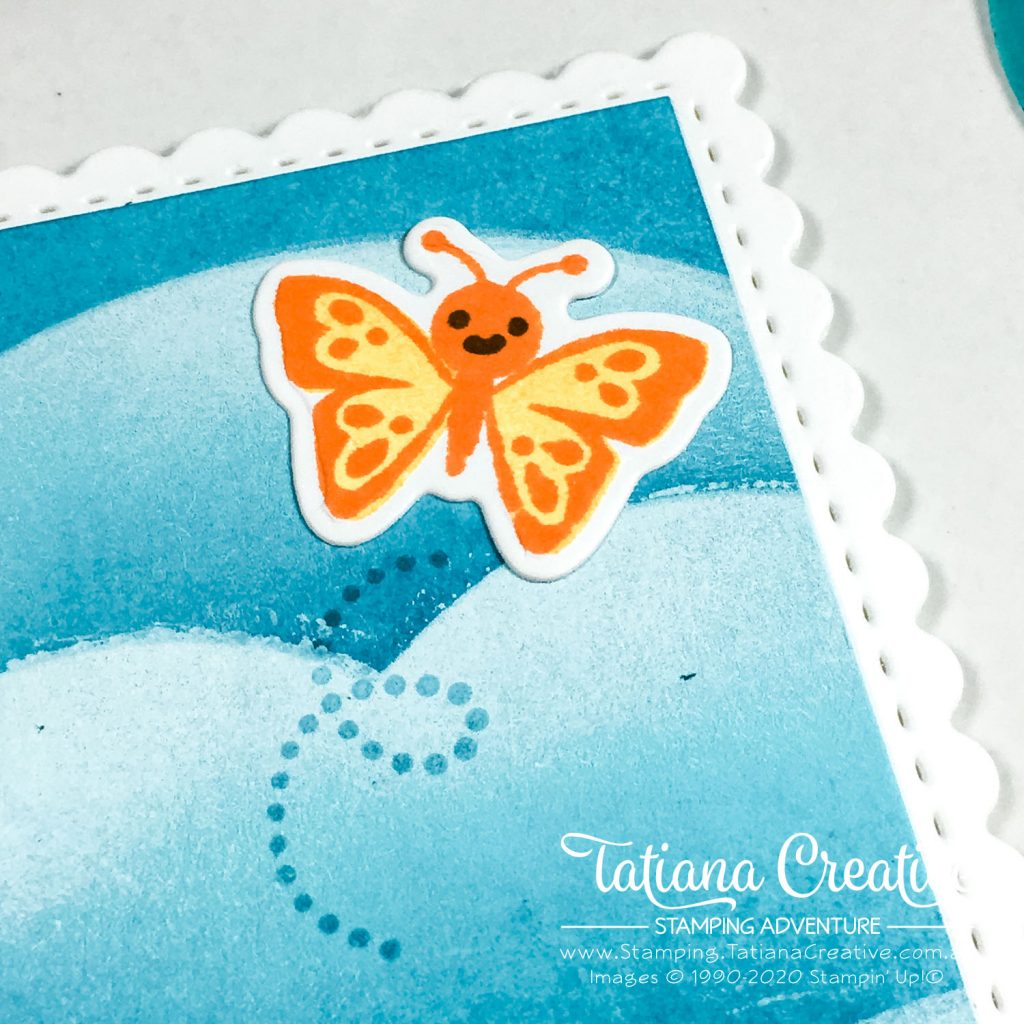
Of course I also decorated the inside of the card. I also felt I needed an envelope and found that the small Memories & More Envelope worked perfectly:
It was so much fun to create a scalloped card for a change! I’ve also never blended clouds on coloured cardstock before, only on Whisper White so another new things for me! Next up is the lovely Rochelle. I can’t wait to see what her something new is!
Tatiana Tobin – AU <— You are here!
Rochelle Laird-Smith – AU
Cazz Boylan – AU
Cheryll Miller – AU
Ximena Morales – DE
Aurélie Fabre – FR
Mikaela Titheridge – UK
Tina Zinck – CA
Annette Ball – CA
Angie McKenzie – US
Mary Deatherage – US
Chris Smith – US
Anne Marie Hile – US
Brenda Nelson – CA
Tricia Butts – US
Elaine de Montmorency – CA
Sharon Hashimoto Burkert – US
Teri West – US
Cheryl Hamilton – US
Thank you for visiting my blog!
Bye for now!
Tatiana
- Join Stampin’ Up!® to start getting your products at 20% discount: CLICK HERE
- Request a Catalogue to see what products you can purchase: CLICK HERE
- Subscribe to my newsletter to keep up to date with the latest news: CLICK HERE
- Follow me on Facebook for regular updates and inspiration: CLICK HERE
- Go SHOPPING for clearance items and specials: CLICK HERE
If you live in Australia you can purchase Stampin’ Up!® products from my online store.
Current Host Code (May 2024): BGP2A3W6
(Use the hostess code when ordering less than $250. All orders over get a handmade card from me. Orders over $50 will receive a FREE gift, and collect stickers part of my Customer Loyalty Program! Orders over $90 will also get a FREE tutorial bundle the following month!!). Click here to shop now using the current Host Code.
Supplies:
You can purchase the of the supplies I used in this project. Please click on the image below to purchase. Thank you for your support.


Pingback: aWow Blog Hop - Let's Shake Things Up! - Stamping Flair
Just wauw! Love iymt
Thank you Danielle!!!
Oh so sweet Tatiana! xxx
Thank you Cheryll!
Absolutely adorable! 🙂
Thank you Mary!
So cute! And, what a great idea.
Thank you Teri!
Such a sweet card and layout. Those dies worked perfectly for your mini card. Love that you used vellum for your cloud mask instead of cardstock. Thanks for hopping Around the World on Wednesday with us! xx
Thanks Angie! And thank you for organising the blog hop with such a great theme!
SO cute! Love those adorable butterflies. This is one happy and cheerful card!
Thank you Sharon! Love the butterflies. They’re so cute. Happy and cheerful is what I was going for!
What a pretty card!! Love the colors and the clouds!!
Thank you Cheryl! I’m a tad in love with clouds at the moment.
This is adorable, Tatiana! I’m going to have to try this sometime.
Thank you Chris! Enjoy trying!
So pretty and cheerful. Love your sweet card design.
Thank you Tricia!
So adorable and I love the cheerful color combo, too. Thanks for the inspiration to make a mini card! What a fun idea!